Posts Tagged ‘Bluegingerdoll’
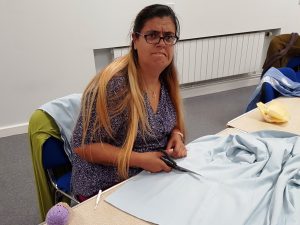
I’ve decided to join in Portia Lawrie’s Refashioners challenge – Suits You this year. The challenge is basically to refashion an old, unworn or unloved suit!
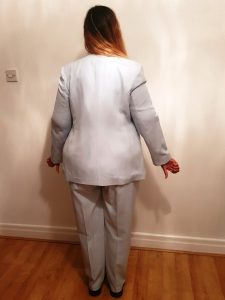
Most people entering the challenge have raided their local charity shop and bought a XXXL men’s suit to give them lots of fabric to work with. But no, old daft me decided that wasn’t enough of a challenge! I decided to use an old pale blue George at Asda ladies suit that I found in the loft, which I’m clearing out due to a rewire in the new year! I have no idea why I bought it as it’s soooo not my style, although it actually seems to fit me pretty well, which is where the extra challenge comes in as it doesn’t give me very much extra fabric to work with, doh!

I had a lot of fun playing round with the suit and trying to decide what to make with it but in the end I settled on a version of one of my TNT patterns – the BlueGingerDoll Winifred dress. I’ve altered the pattern quite a bit to fit me well, the shape suits me and I wear my existing ones quite a lot, so would be nice to have a new but also different version.
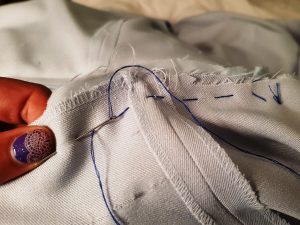
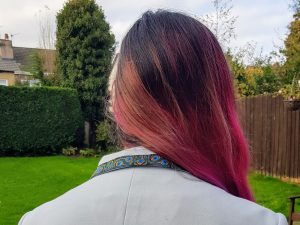
Although I have made the collarless version of the Winifred dress recently I do like the collar feature and decided to take advantage of the jacket collar and integrate this into the design. Lots of pinning and fiddling was undertaken at Liverpool Sewing Club, with me trying on again and again to ensure the button holes were not visible and the new centre front seam was straight and actually in the centre. Then to figure out the rest of the bodice fitting! As the jacket had princess seams it didn’t actually need the tuck darts that the dress usually features, which help create the bust fitting and flowing skirt. So when I figured out where to finish the bodice/jacket section and finally got the fit I liked, it was time to make the first cut!
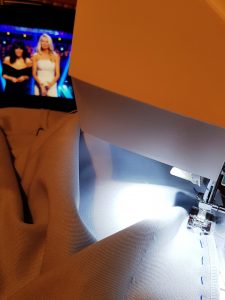
I decided to shorten the sleeves to elbow length, which i find really comfortable but I normally make short-sleeved Winifreds. As you can see from the before photos, the sleeves were a tiny bit tight, so I decided to remove the sleeve lining (I’ve left the bodice lined) to see if that helped with the fit. This is where I noticed the big difference in the seam finishes between the areas of the suit that would be visible (the trouser seams) and those not visible (sleeve seam). This is after all a budget suit and the manufactures need to save money and time where they can!
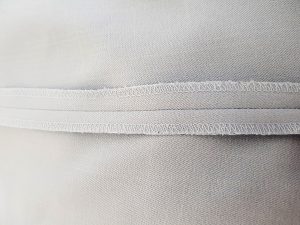
Visible seam
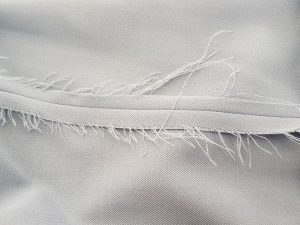
Hidden seam
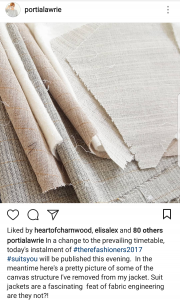
At this point I decided to remove the shoulder pads as a) it’s no longer the 1980s, and b) they really don’t suit me. During this unpicking and deconstruction of the jacket stage it became obvious the difference between my Asda suit and the high end men’s tailored suit, that a lot of people, such as Portia were refashioning:

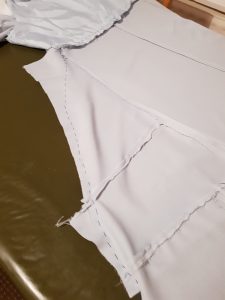
Now to move onto the skirt construction. The Winifred dress usually has an elastic casing or shirring at the back waistline but I wanted to test the fit first, so I decided to construct the skirt pieces separately first and check or fit before adding this detailing., The dress front is normally put as a full bodice and skirt all in one but my refashion needed a seam adding. I unpicked the side seam on the trousers and after a little maths and playing around with the layout decided to press out the hem and keep the inside seam in place and use this as the centre front centre back seams, as the skirt flares out and obviously so do the trousers at the hips. Although this flare isn’t enough to create the full width of the skirt, so now comes lots of patch working! I used the extra pieces from the bodice, trousers and sleeves to create extra width to get the rough shape of the Winfred dress. I then had tacked (yes me, the worst hand sewer known to mankind!) the two skirt pieces to the bodice and the rough shape of the skirt together.
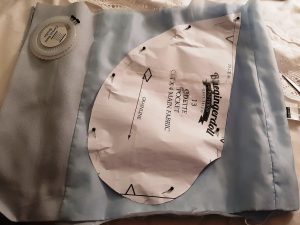
I needed to try the dress on and see if the shirring was needed or if the fit was okay without it and I was very pleased to find the shirring was not actually needed. A combination of the jacket bodice princess seams and the fact that I am extremely pear shaped meant I could lose the shirring and still have a great fit! Any good me-made dress has pockets, so time to go back to my leftovers from the suit and I used the lining from the bottom of the jacket to cut some side seam pocket, using the pattern piece from another BlueGingerDoll dress, the Odette, as a template). I’ve hacked this pattern before to add pockets but if you’re not sure how to do this then By Hand London have a great tutorial on their website, with lots of photos, which always help me as I’ve a very visual learner!
Now it’s time to put it all together properly! I used my pattern pieces as a rough guide and cut off the excess no longer needed, machine stitched all seams and remove the tacking (whilst watching Strictly of course)
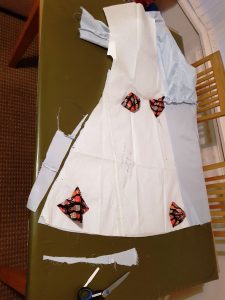
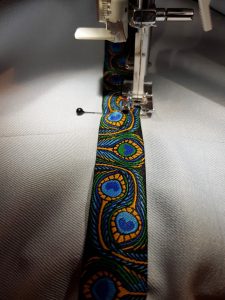
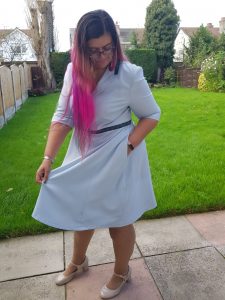
All finished, or is it?! Hmm, it’s very nice and I’m happy with the fit but it’s rather plain and therefore not really very me! My hand embroidery skills aren’t up to scratch, so I decided to have a look around for a co-ordinating trim. I really like peacocks feathers and found this one on Moksha Trim, so decided to stitch that to the waist but still wasn’t 100% happy, so had a play around at Liverpool Sewing Club with the ladies helping me work out the best placement and having a laugh in the meantime

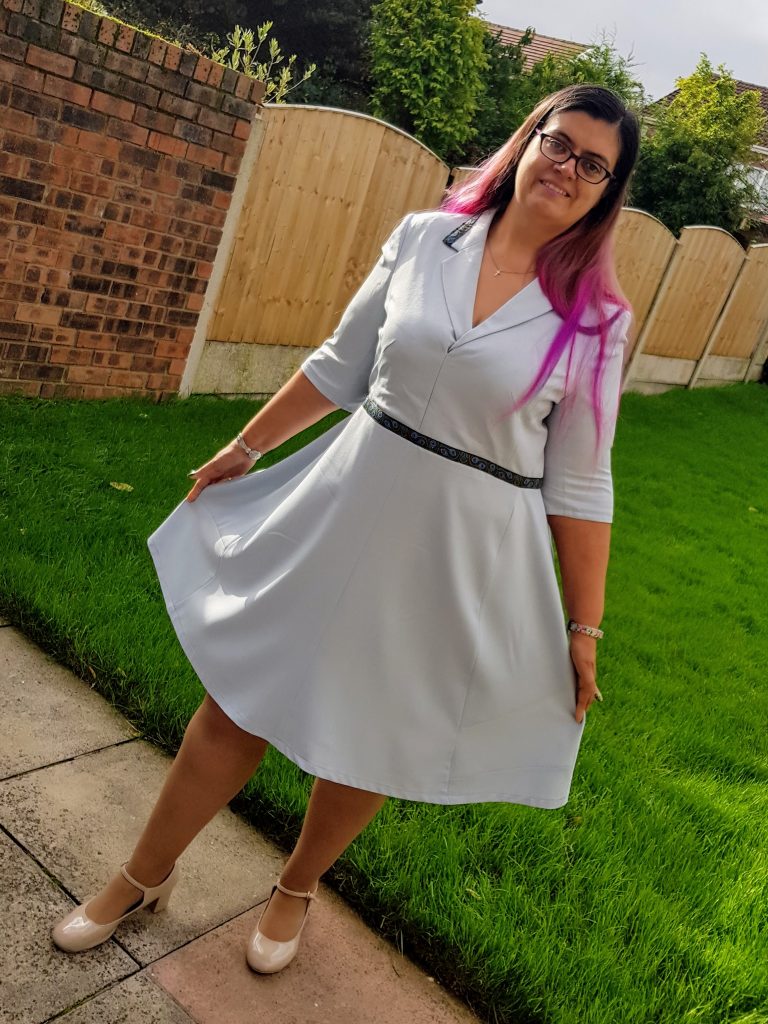
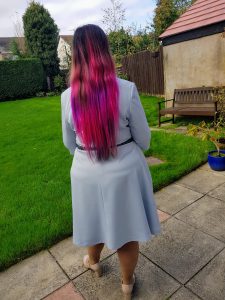
Yay, all finished! Cue lots and lots of photos:
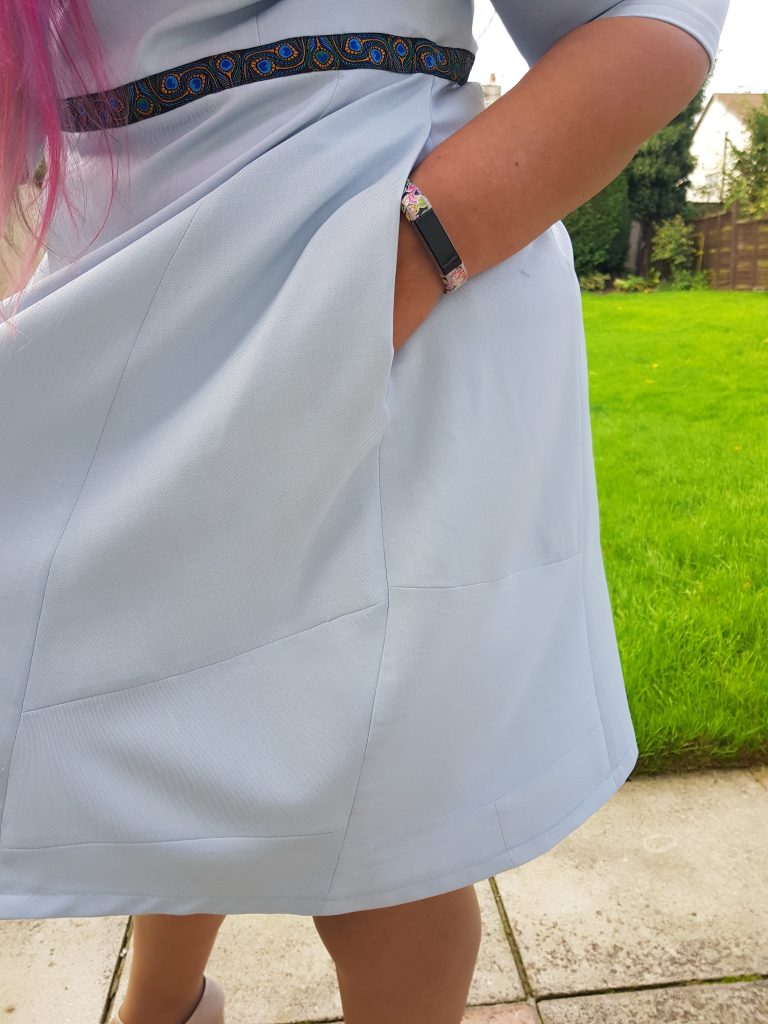
Patchwork side panels!


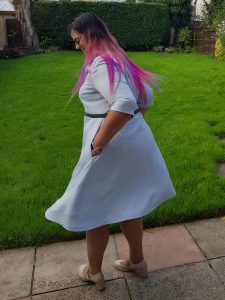
I’m really please how this has turned out and that I’ve managed to do it from not a lot of fabric and without adding any extra fabric, just 1.5 meters of trim!
6 Comments

I was recently given the opportunity to pattern test Bluegingerdoll’s new Bonnie Sweater pattern. This is their first pattern designed specially for knits so I jumped at the chance as I love knit fabrics, so comfy and easy to wear.
Designed for comfort and elegance Bonnie is a vintage inspired sweater that works in every season and for any occasion. Made with knit fabric Bonnie is a quick and easy make and can be created in a matter of hours.
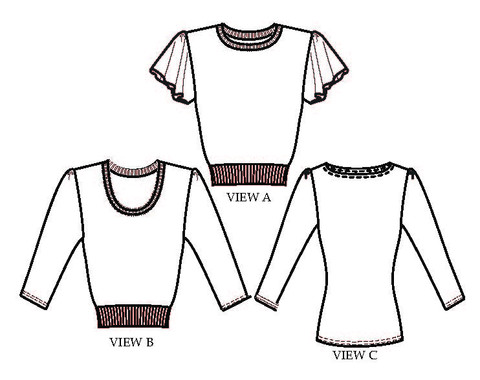
View A is an iconic 1940’s inspired cropped sweater design, featuring flutter sleeves and fitted waistband its perfect to pair with those high waisted skirts and pants.
View B also cropped at the waistline and features a scooped neckline and 3/4” sleeves.
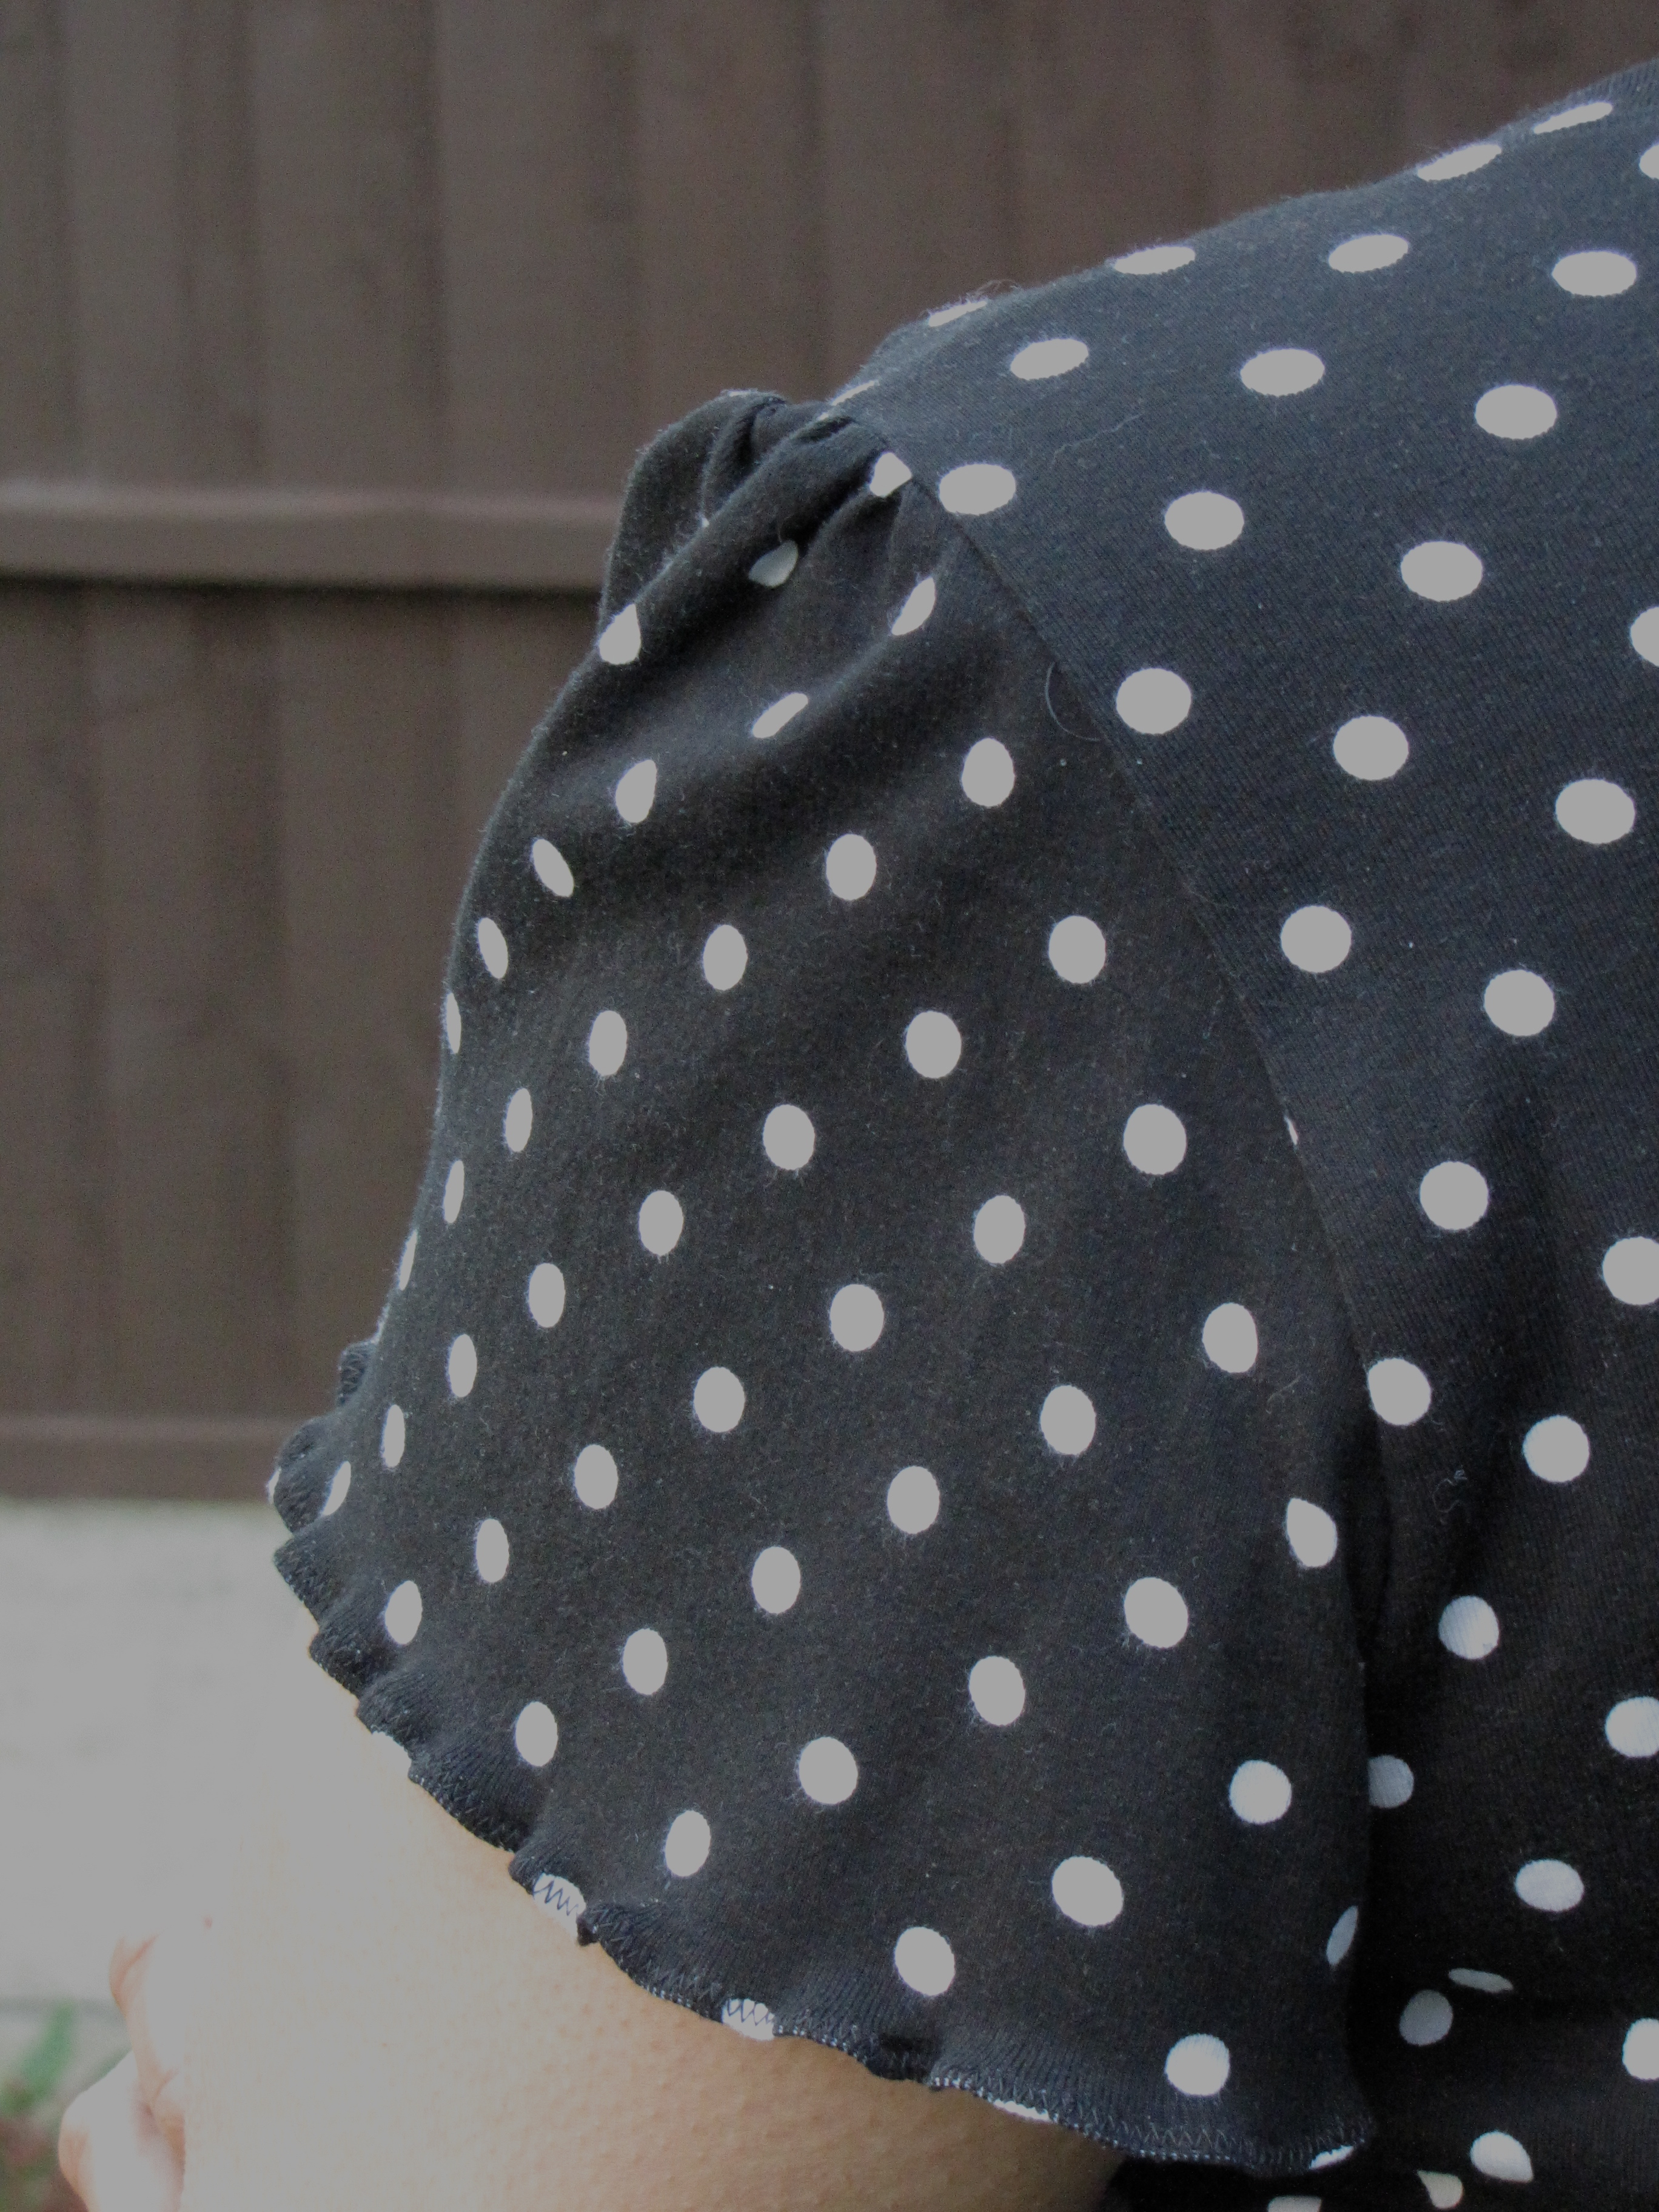
View C features a boat neckline, long sleeves and hip length bodice. All three variations feature subtle, feminine gathers at the top of each sleeve reminiscent of a bygone era.
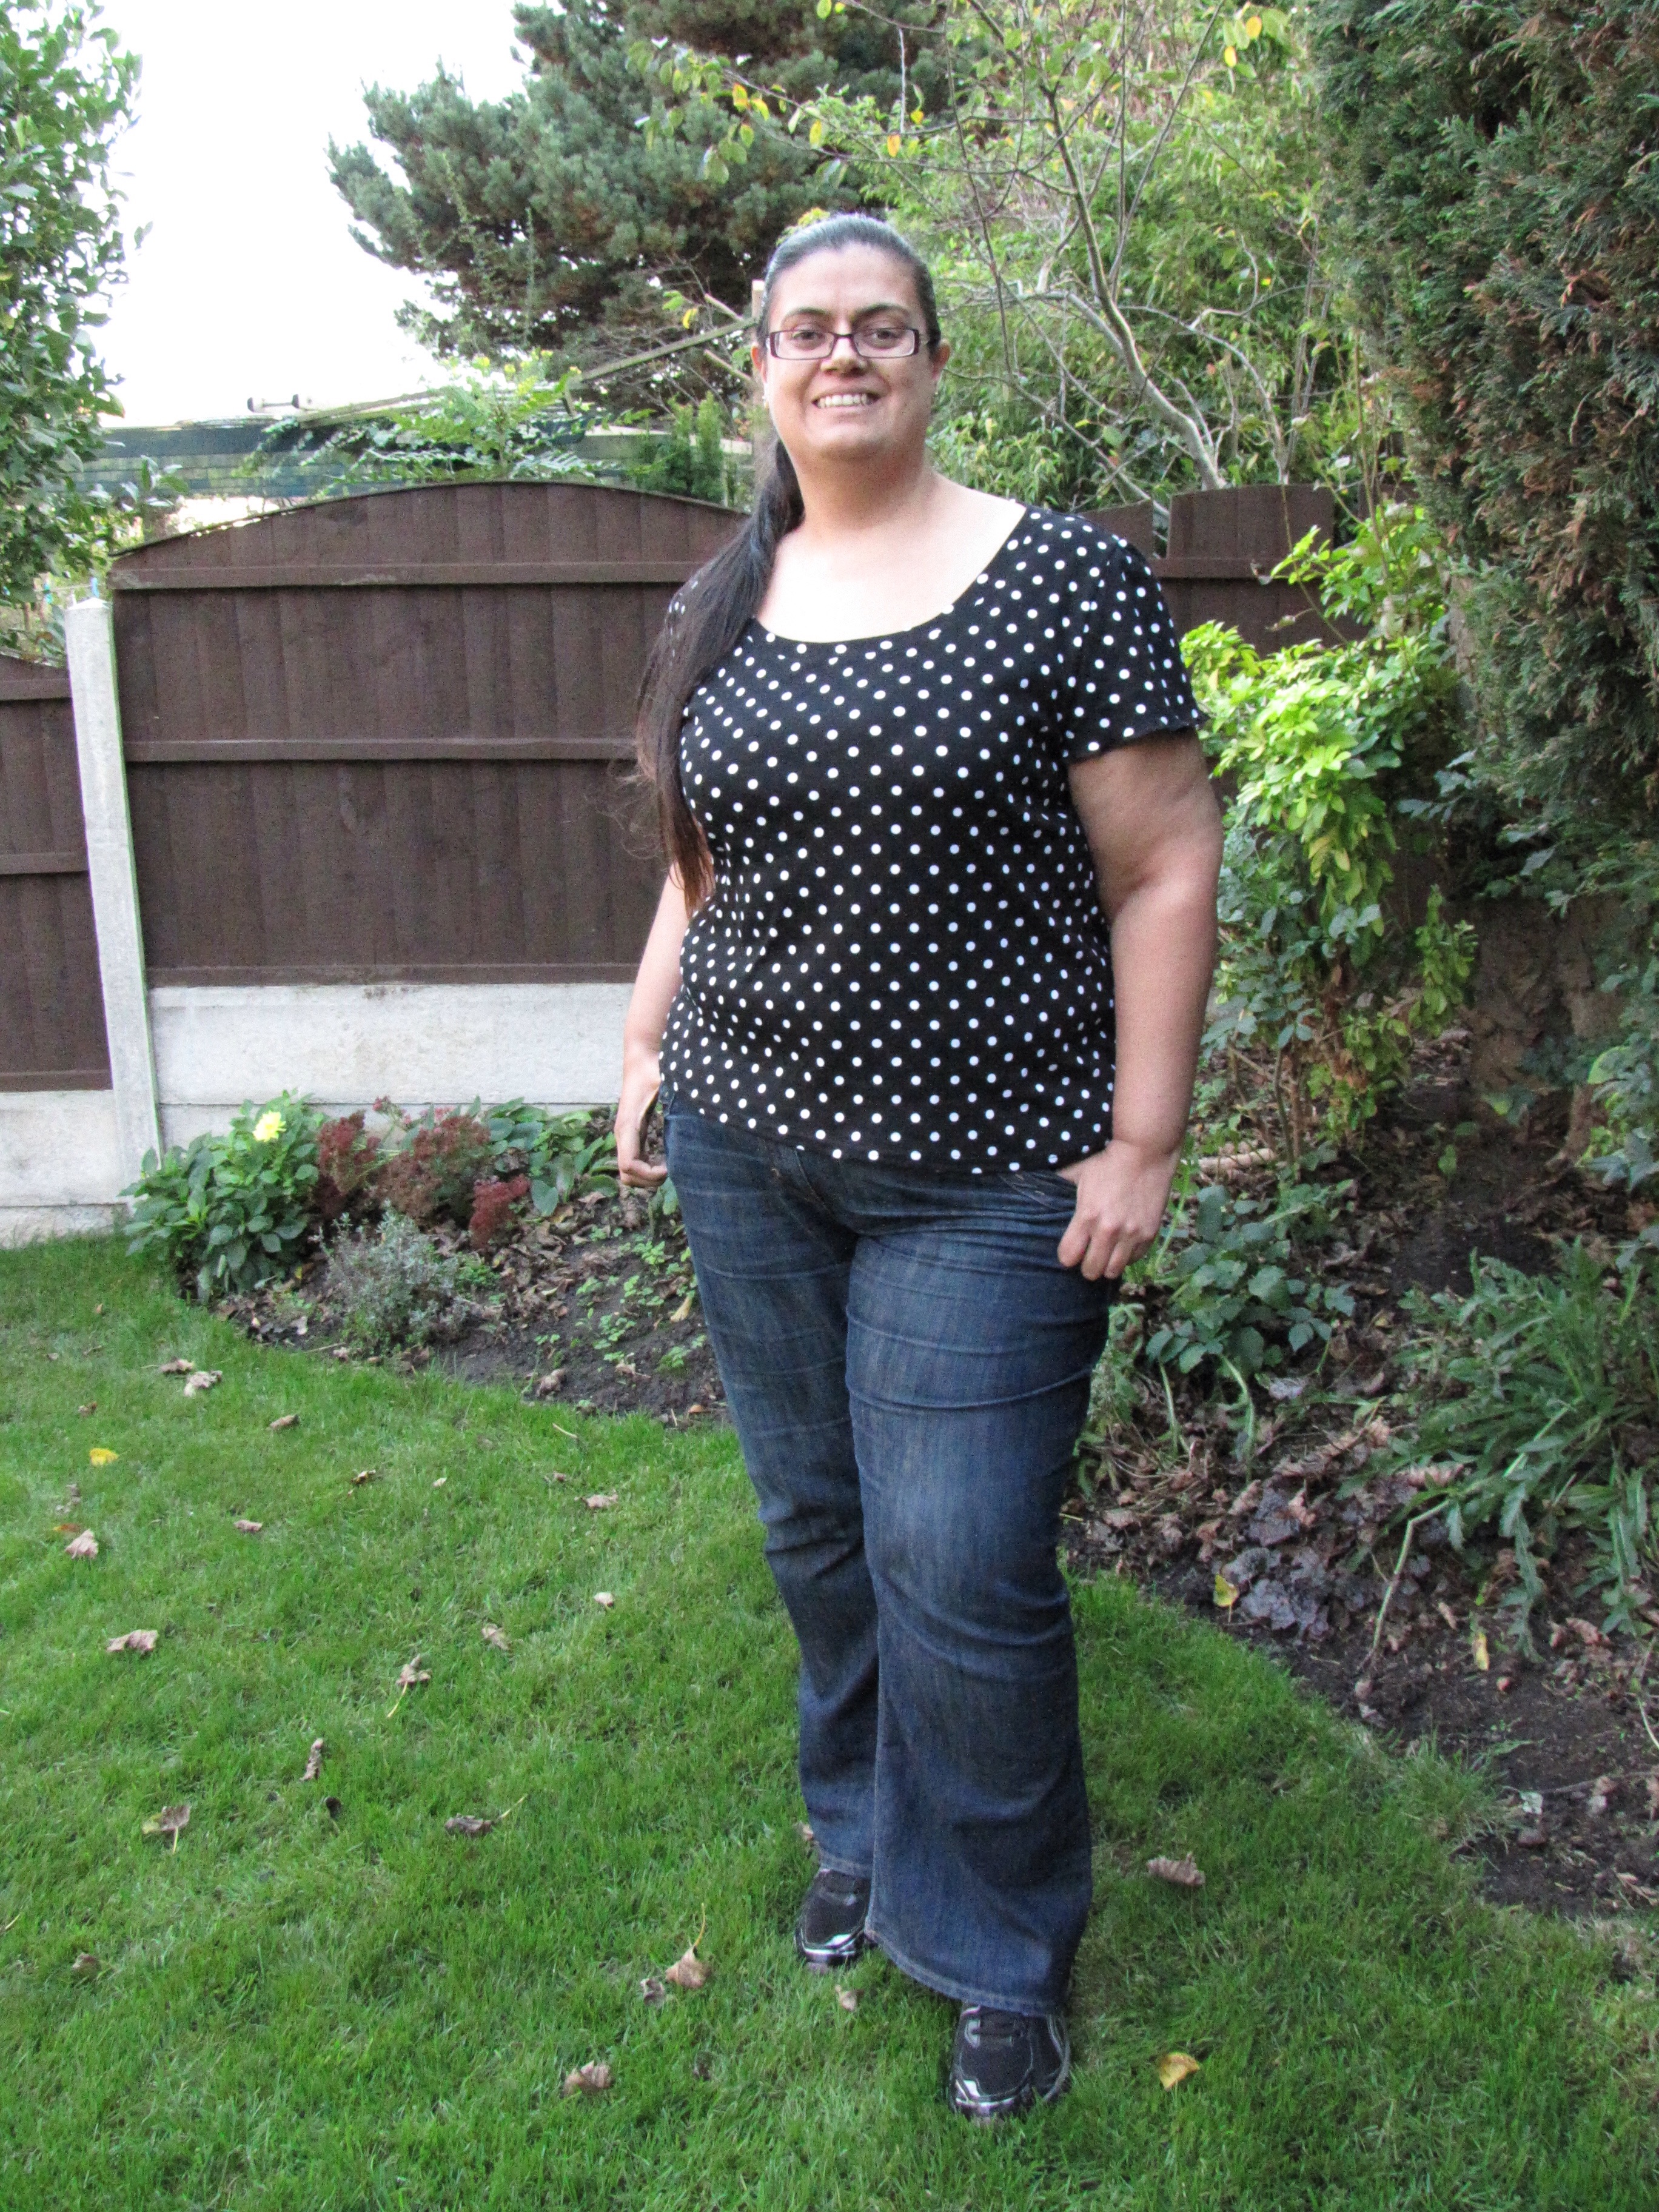
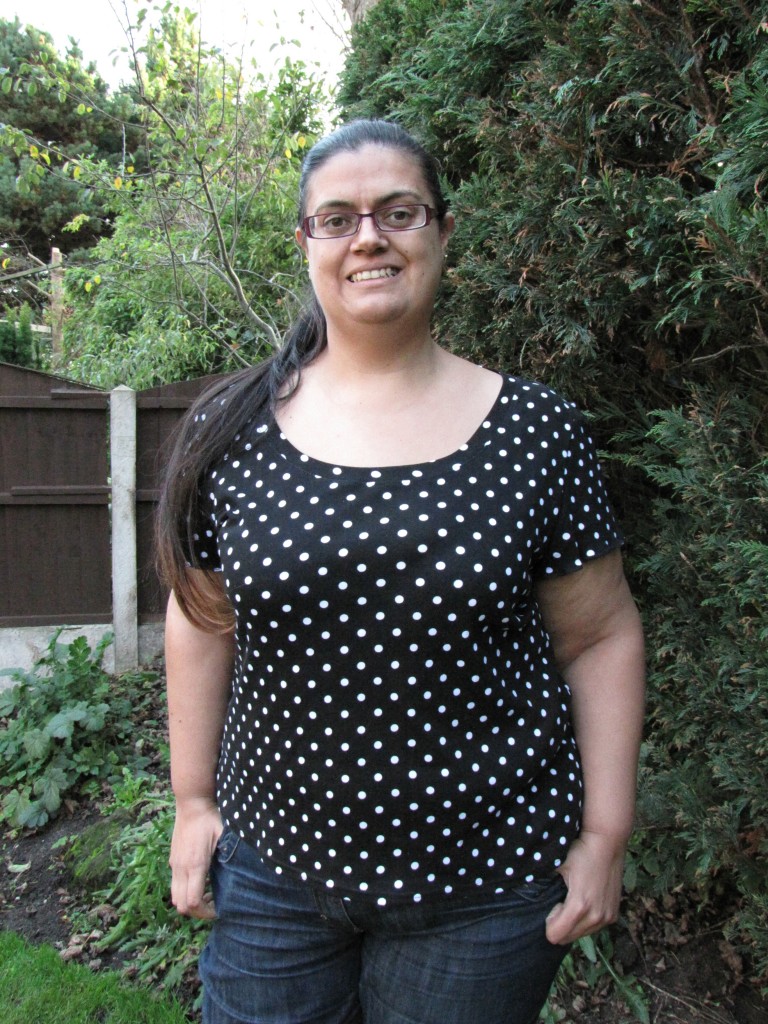
I love polka dots, so chose to use this black and white spotty jersey from my stash, which had originally been purchased from Abakhan Fabrics. After checking that I had enough of it in my stash I went ahead and checked the garment measurements against my body measurements.
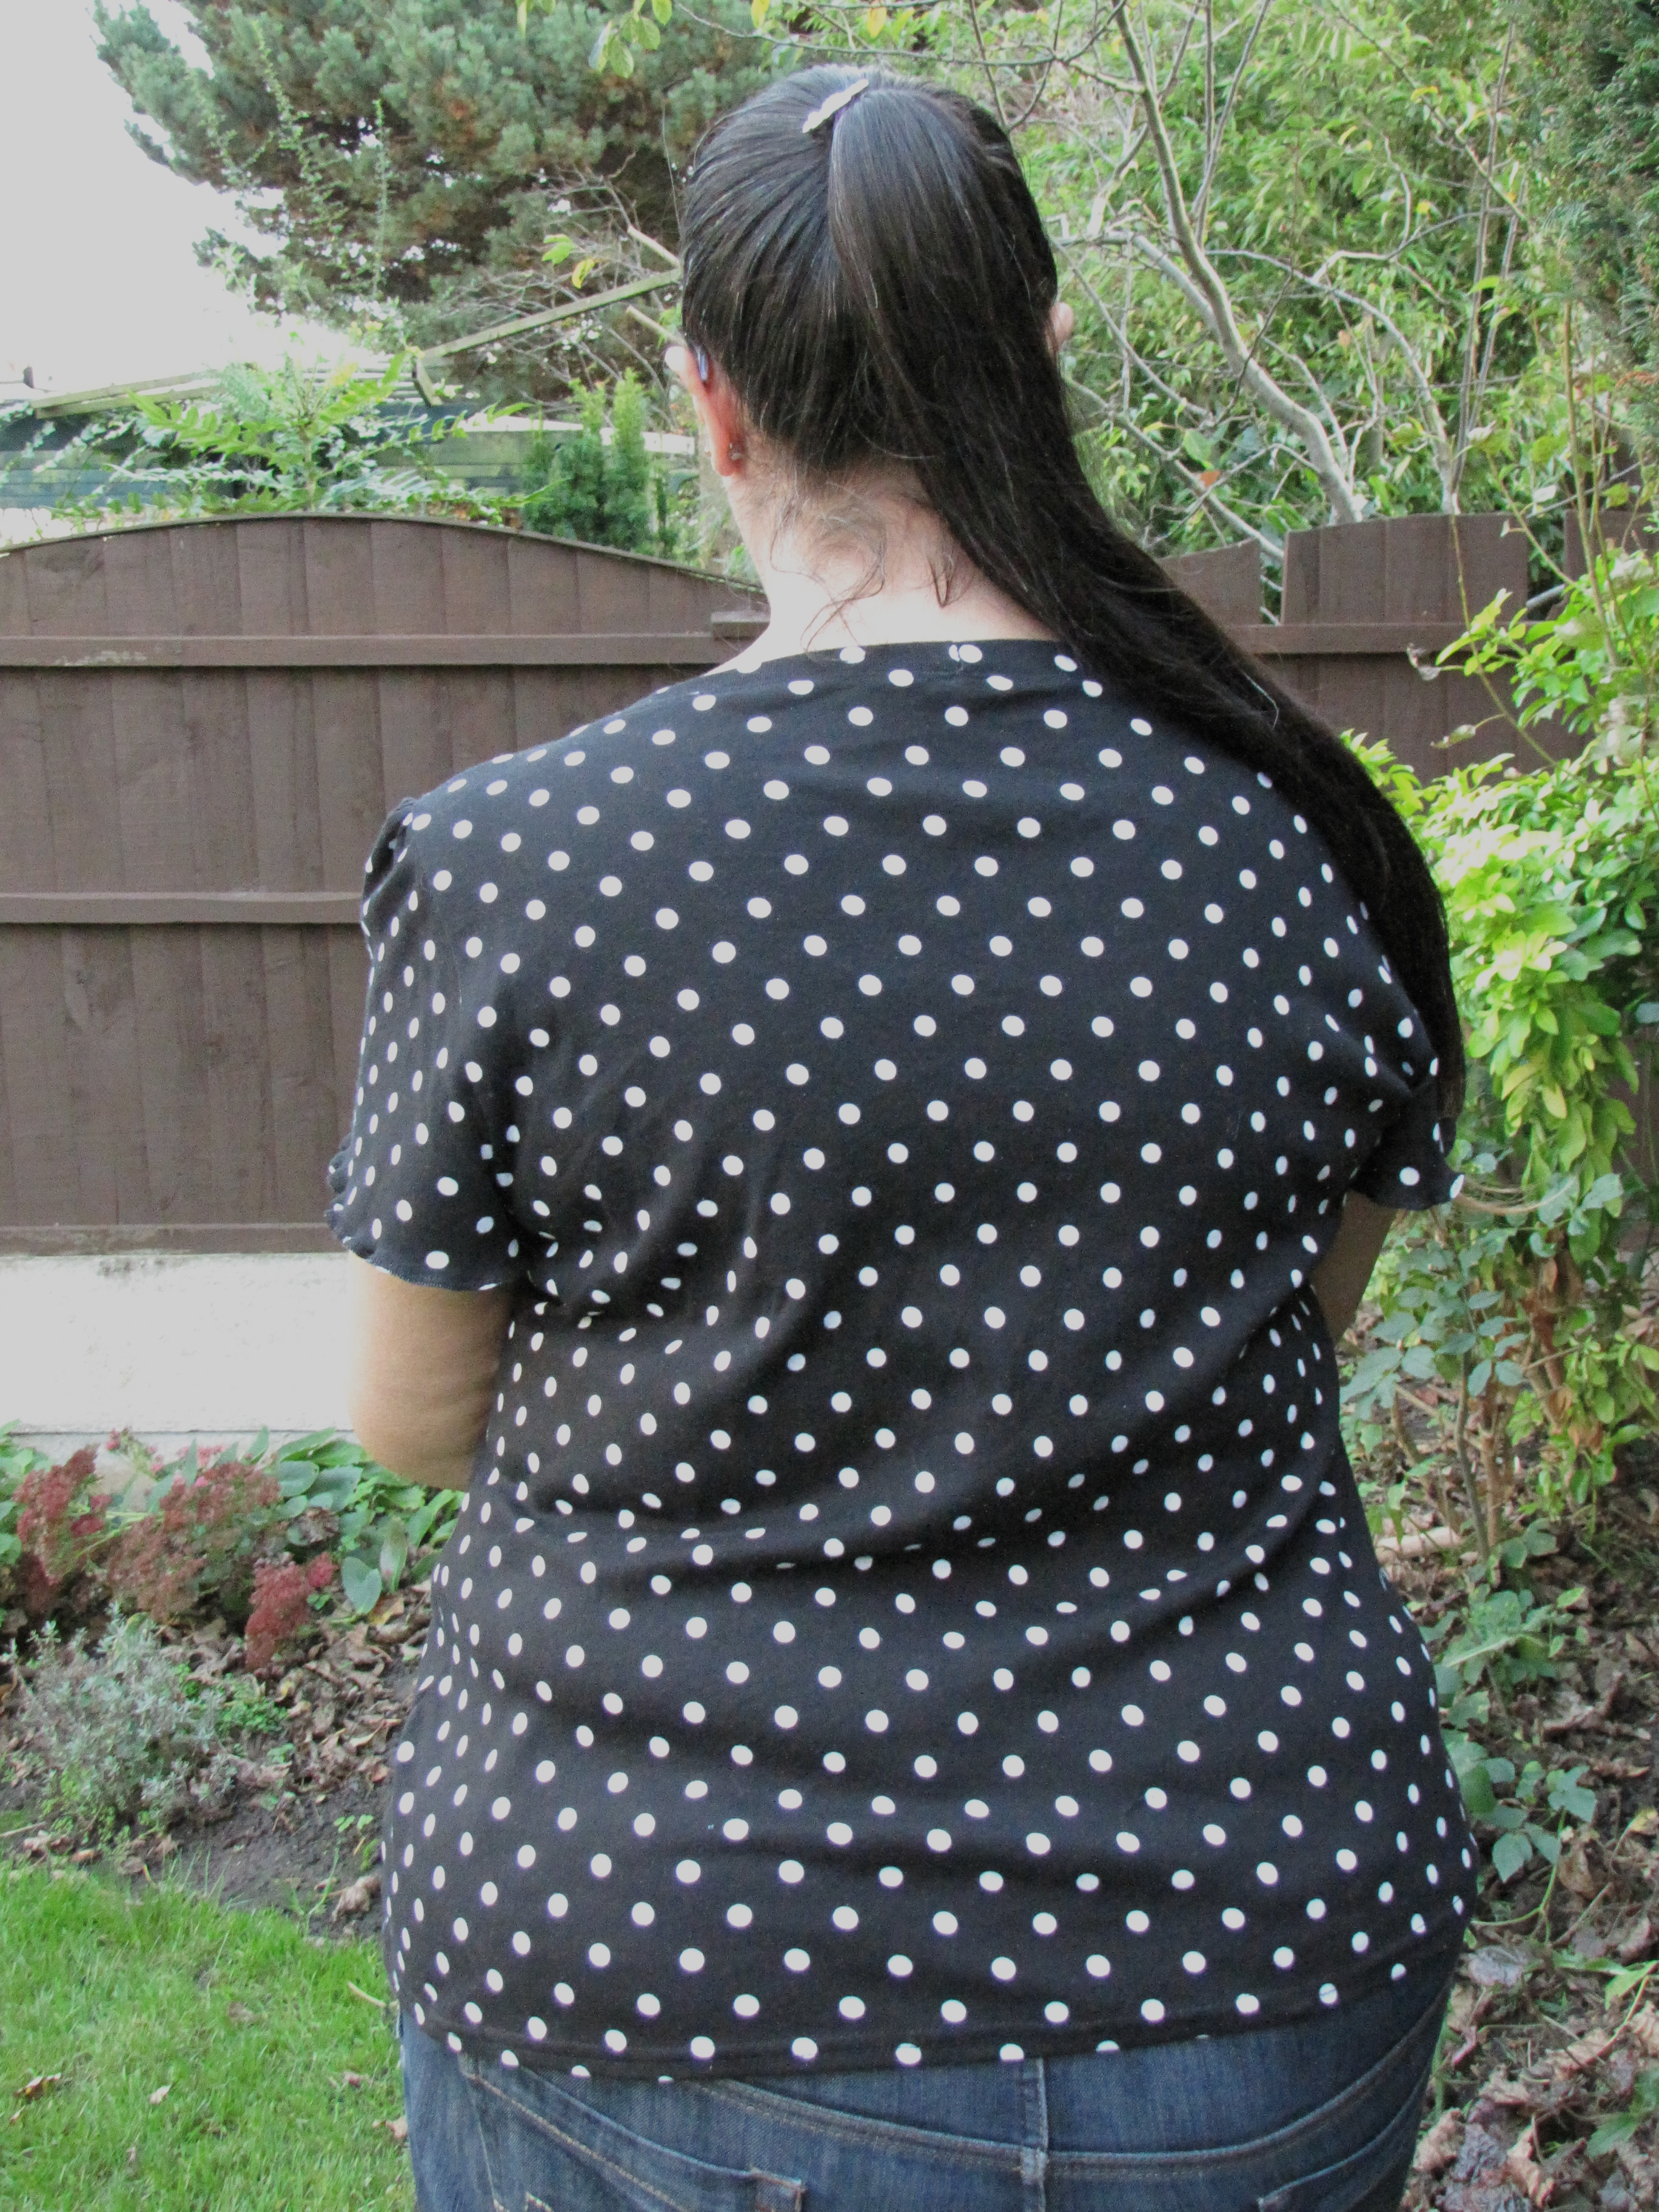
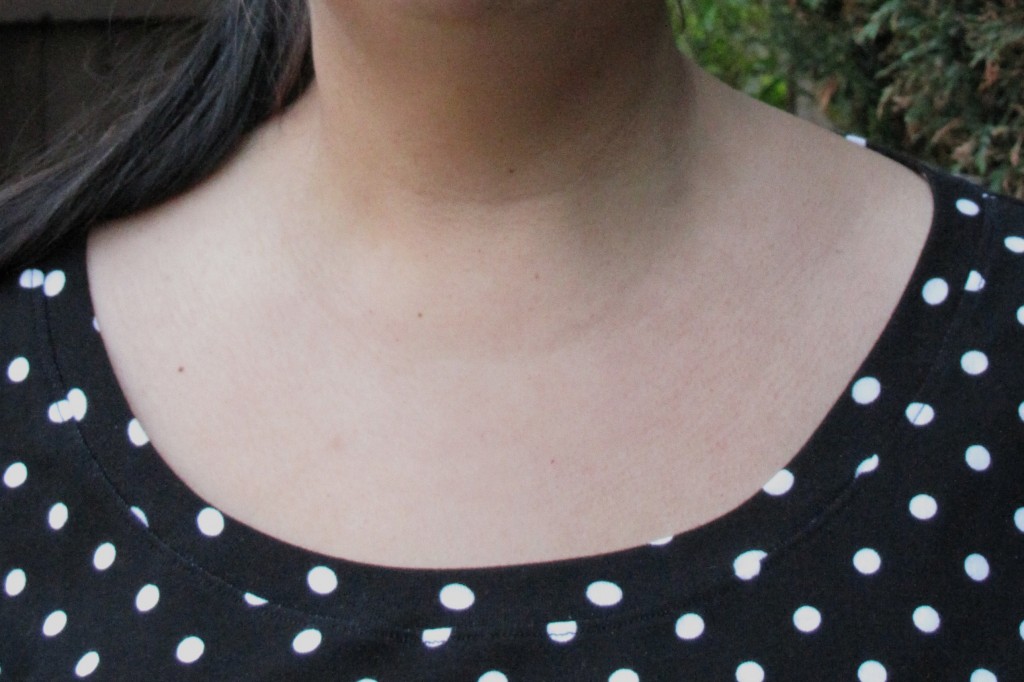
I love the fact that there’s such a variety of mix and match options for this pattern – 3 different neckline, 3 sleeve options and 2 different bodice lengths. I chose to use the lower neckline (seen on view B in the pattern line drawings and the longer length of view C, as being pear-shaped and long-bodied a hip length top suits my shape better. I then chose the shorter flutter sleeves as these tend to suit my bingo wings better and as I’m a fan of layers I wear short sleeves tops all year round.

As is a common pattern fitting alteration for myself, due to being very pear-shaped, I graded the side seams from a 20 at the bust down to a 24 at the hips. Cutting out took a very short time as with the options I chose there’s only 4 pattern pieces involved. Construction was also rather speedy using my trusty overlocker and it all went together very quickly. The instructions were easy to read and follow with detailed diagrams where needed.
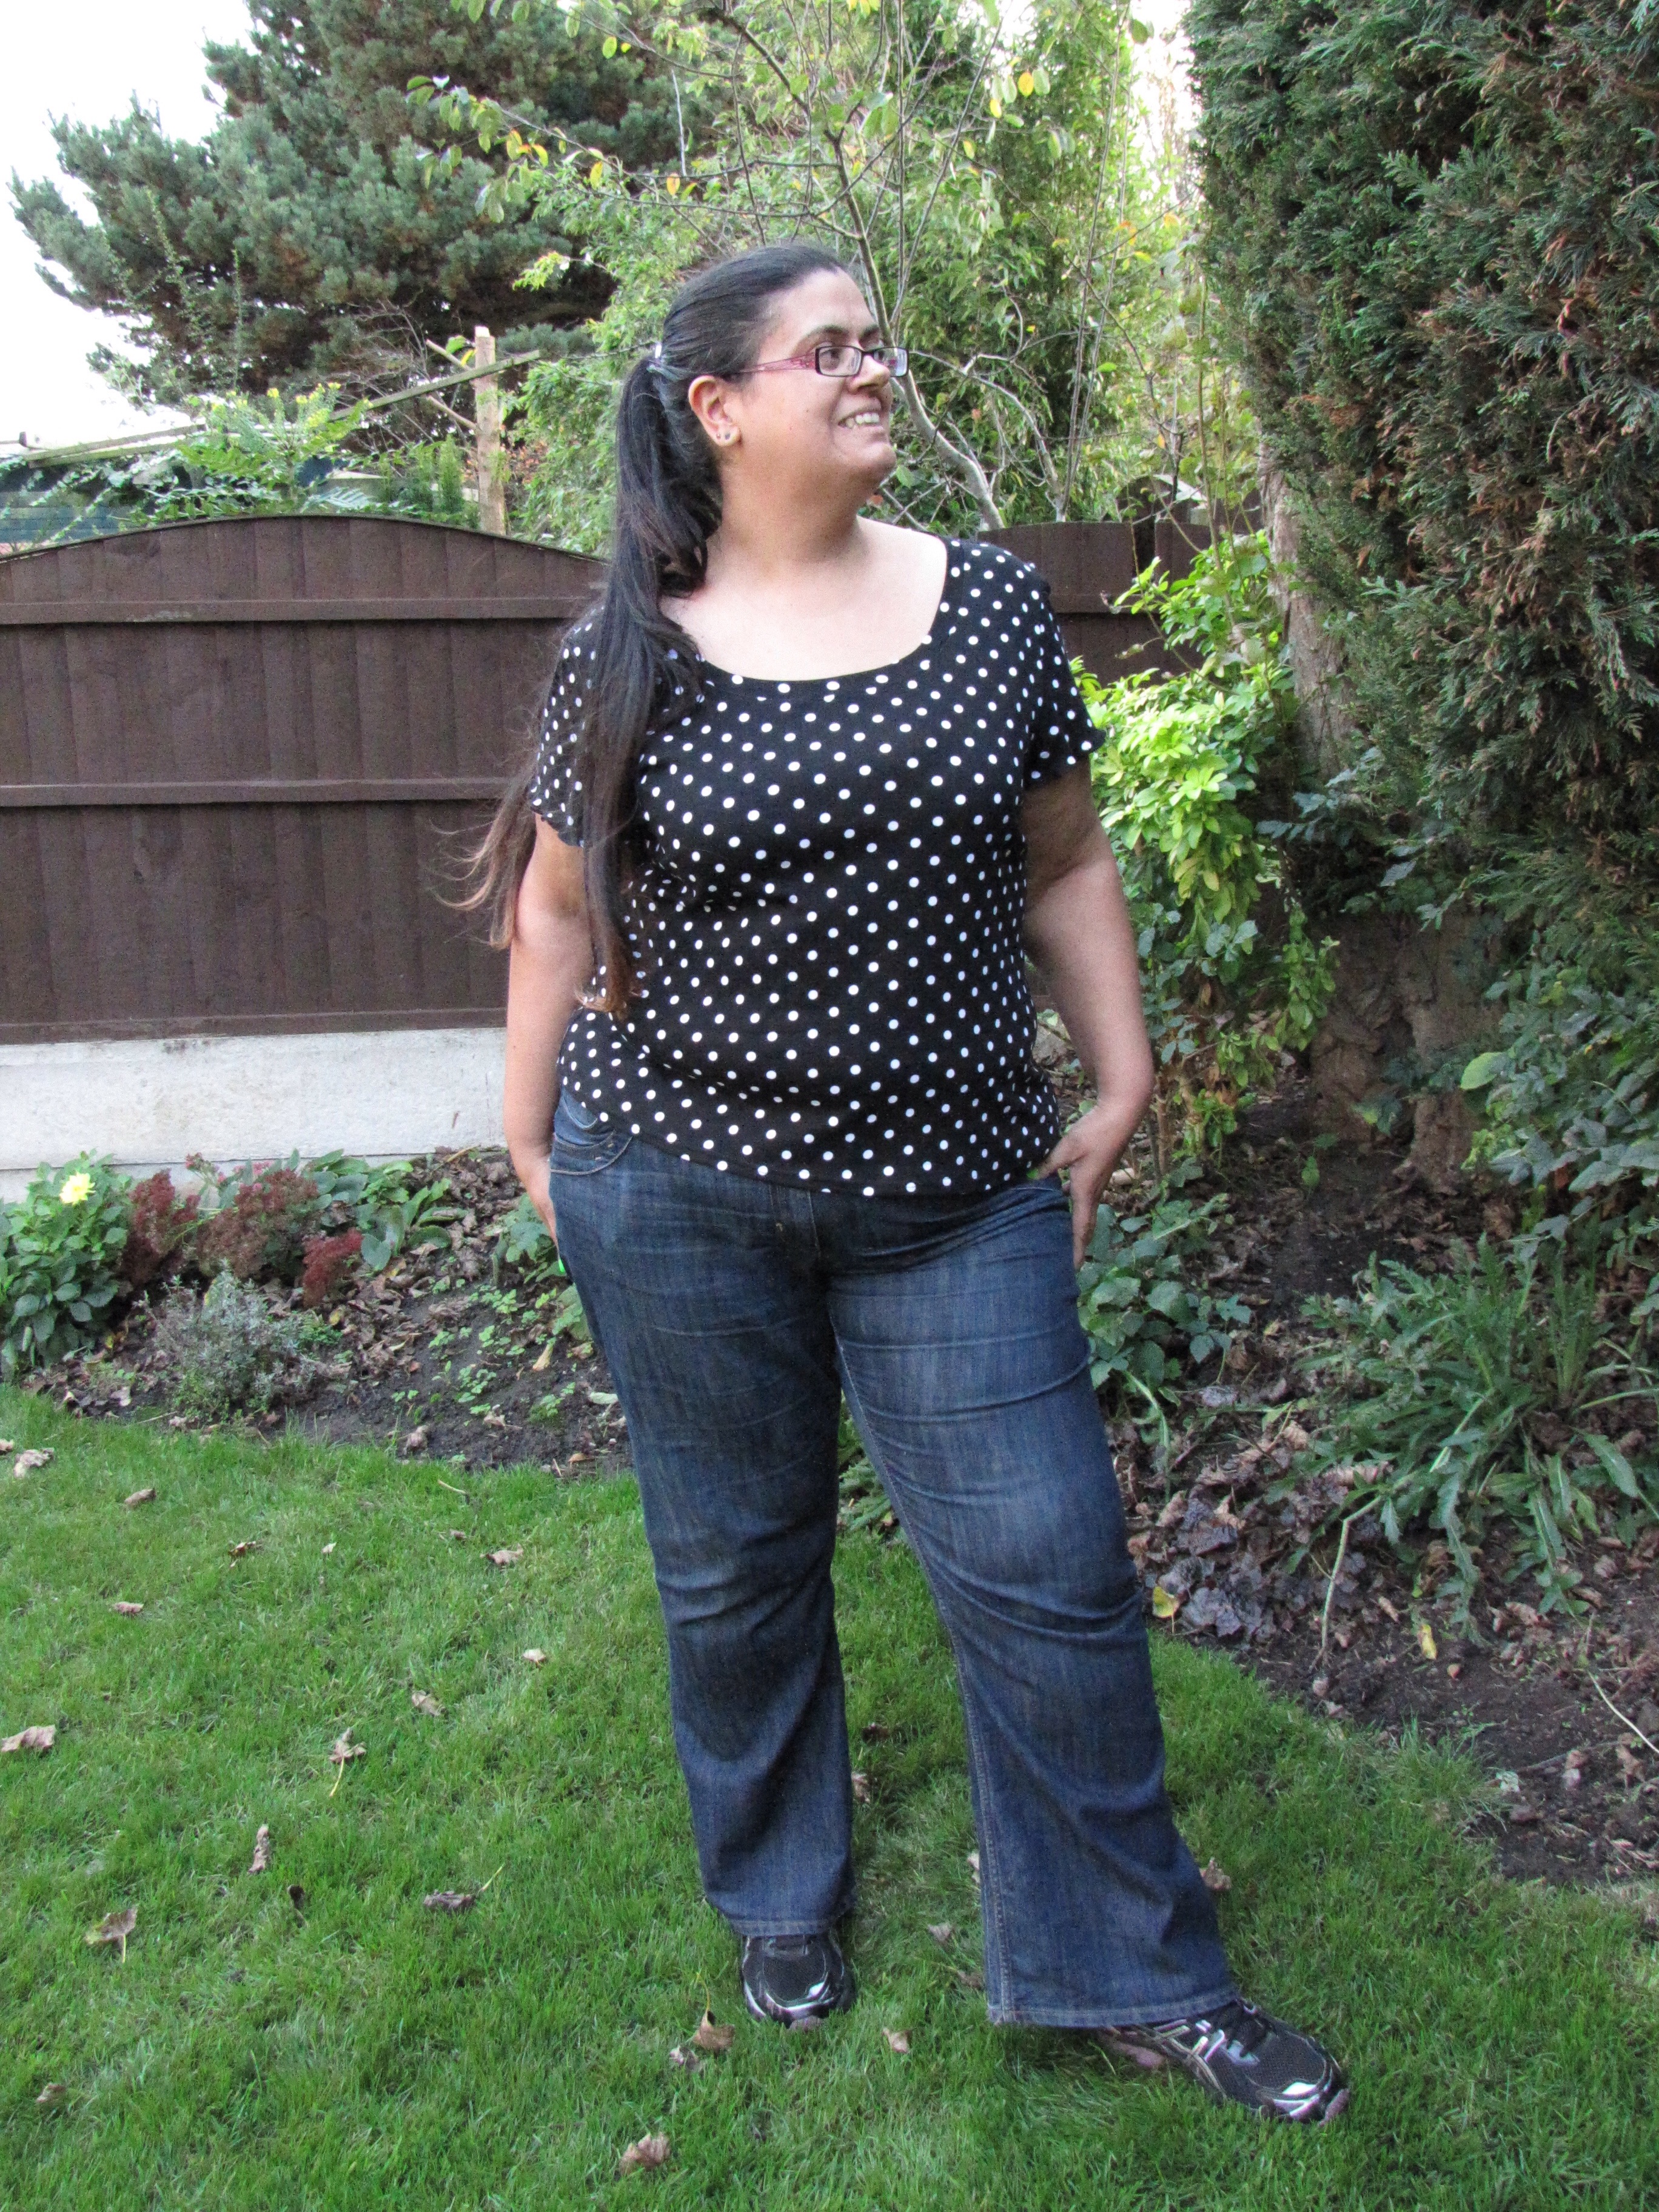
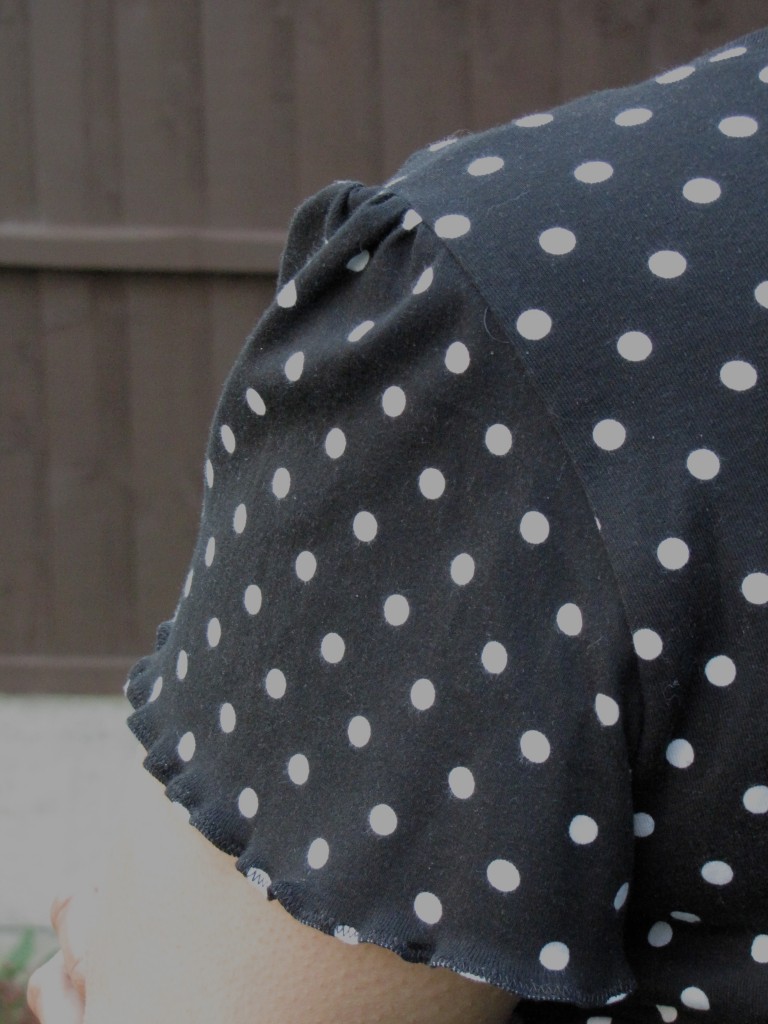
I instantly loved the shape and fit of the Bonnie sweater and found it very comfortable. The little details included in the Bonnie pattern are also very cute, the gathers on the sleeves give them a lovely effect. Since my bingo wings are a tad on the larger side I didn’t think the sleeve ‘fluttered’ as much as I’d like, so to give them a little more flutter-ability I finished them with a narrow hem and zigzag stitch as suggested in the pattern but pulled at the jersey whilst doing this to create a ‘lettuce-edge hem’ which even if I do say so myself, looks fab!
I can easily see this being one of my wardrobe staples. Plain fabrics and simple patterns such as polka dots and stripes will be great for work wear and the more funky patterns will be great for the weekends with my trusty jeans. I already have a great hot air balloon print in my stash which I reckon will suit the Bonnie sweater pattern perfectly!

The wide variety of differing Bonnie sweaters that have been created by the pattern testers shows just how versatile this pattern is: A Stitching Odyssey – Pattern Testing: Bonnie Knit Top – Bluegingerdoll Patterns; Made by Meg: Bonnie Top; Handmade by Heather B – A Pair of Bonnies; Sewn by Elizabeth – Bluegingerdoll Bonnie Knit Top and Tanya Maile.
To buy your own copy of the Bonnie sweater sewing pattern visit the Bluegingerdoll website: http://bluegingerdoll.com/products/bonnie
NB: As part of the testing process, I received this pattern free of charge. All opinions and the decision to blog about it are however are fully my own.
Share your thoughts
A few months ago I used the then newly released Bluegingerdoll Winifred dress to make a dress to wear to my friend’s wedding and made 2 ‘wearable toiles’ first. As this was a new pattern Bluegingerdoll ran a great sewalong, which I found very helpful & entered my dresses into the sewalong competition. I was lucky enough to win the competition! More information about my dresses can be found on the Bluegingerdoll blog when Abby interviewed me.
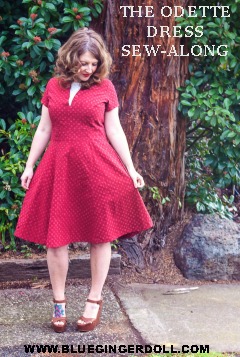
I was then lucky enough to be chosen to pattern test their latest pattern, the Odette dress.
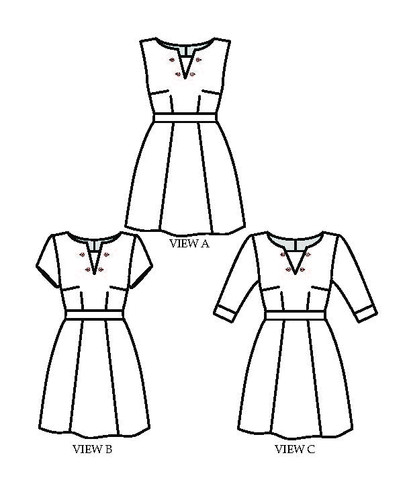
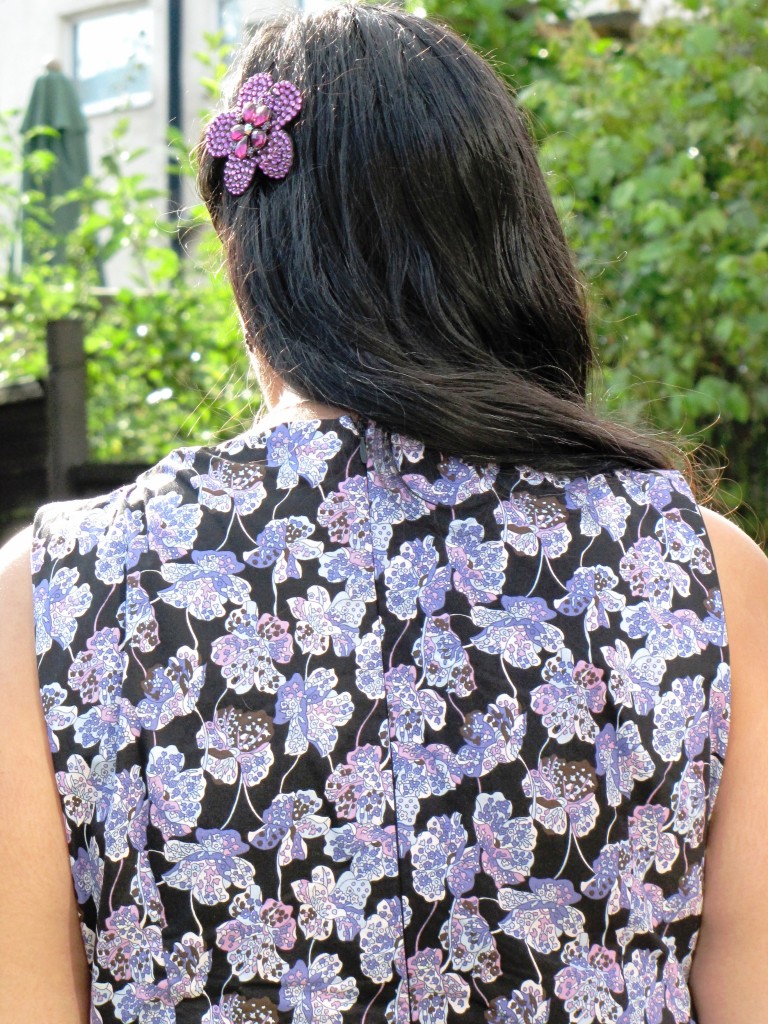
‘Odette is a one of a kind dress for your wardrobe. A fitted, fully lined bodice featuring a bateau ‘V’ neckline with a distinctive contrasting insert that frames the face.
The waistband highlights the waistline along with a seven gored skirt that skims the hips and has just the right amount of flare, as well as in-seam pockets for added practicality.
Your choice of three sleeve variations:
View A – Sleeveless, View B- Short sleeve and View C – 3/4 sleeves with complimenting cuffs’

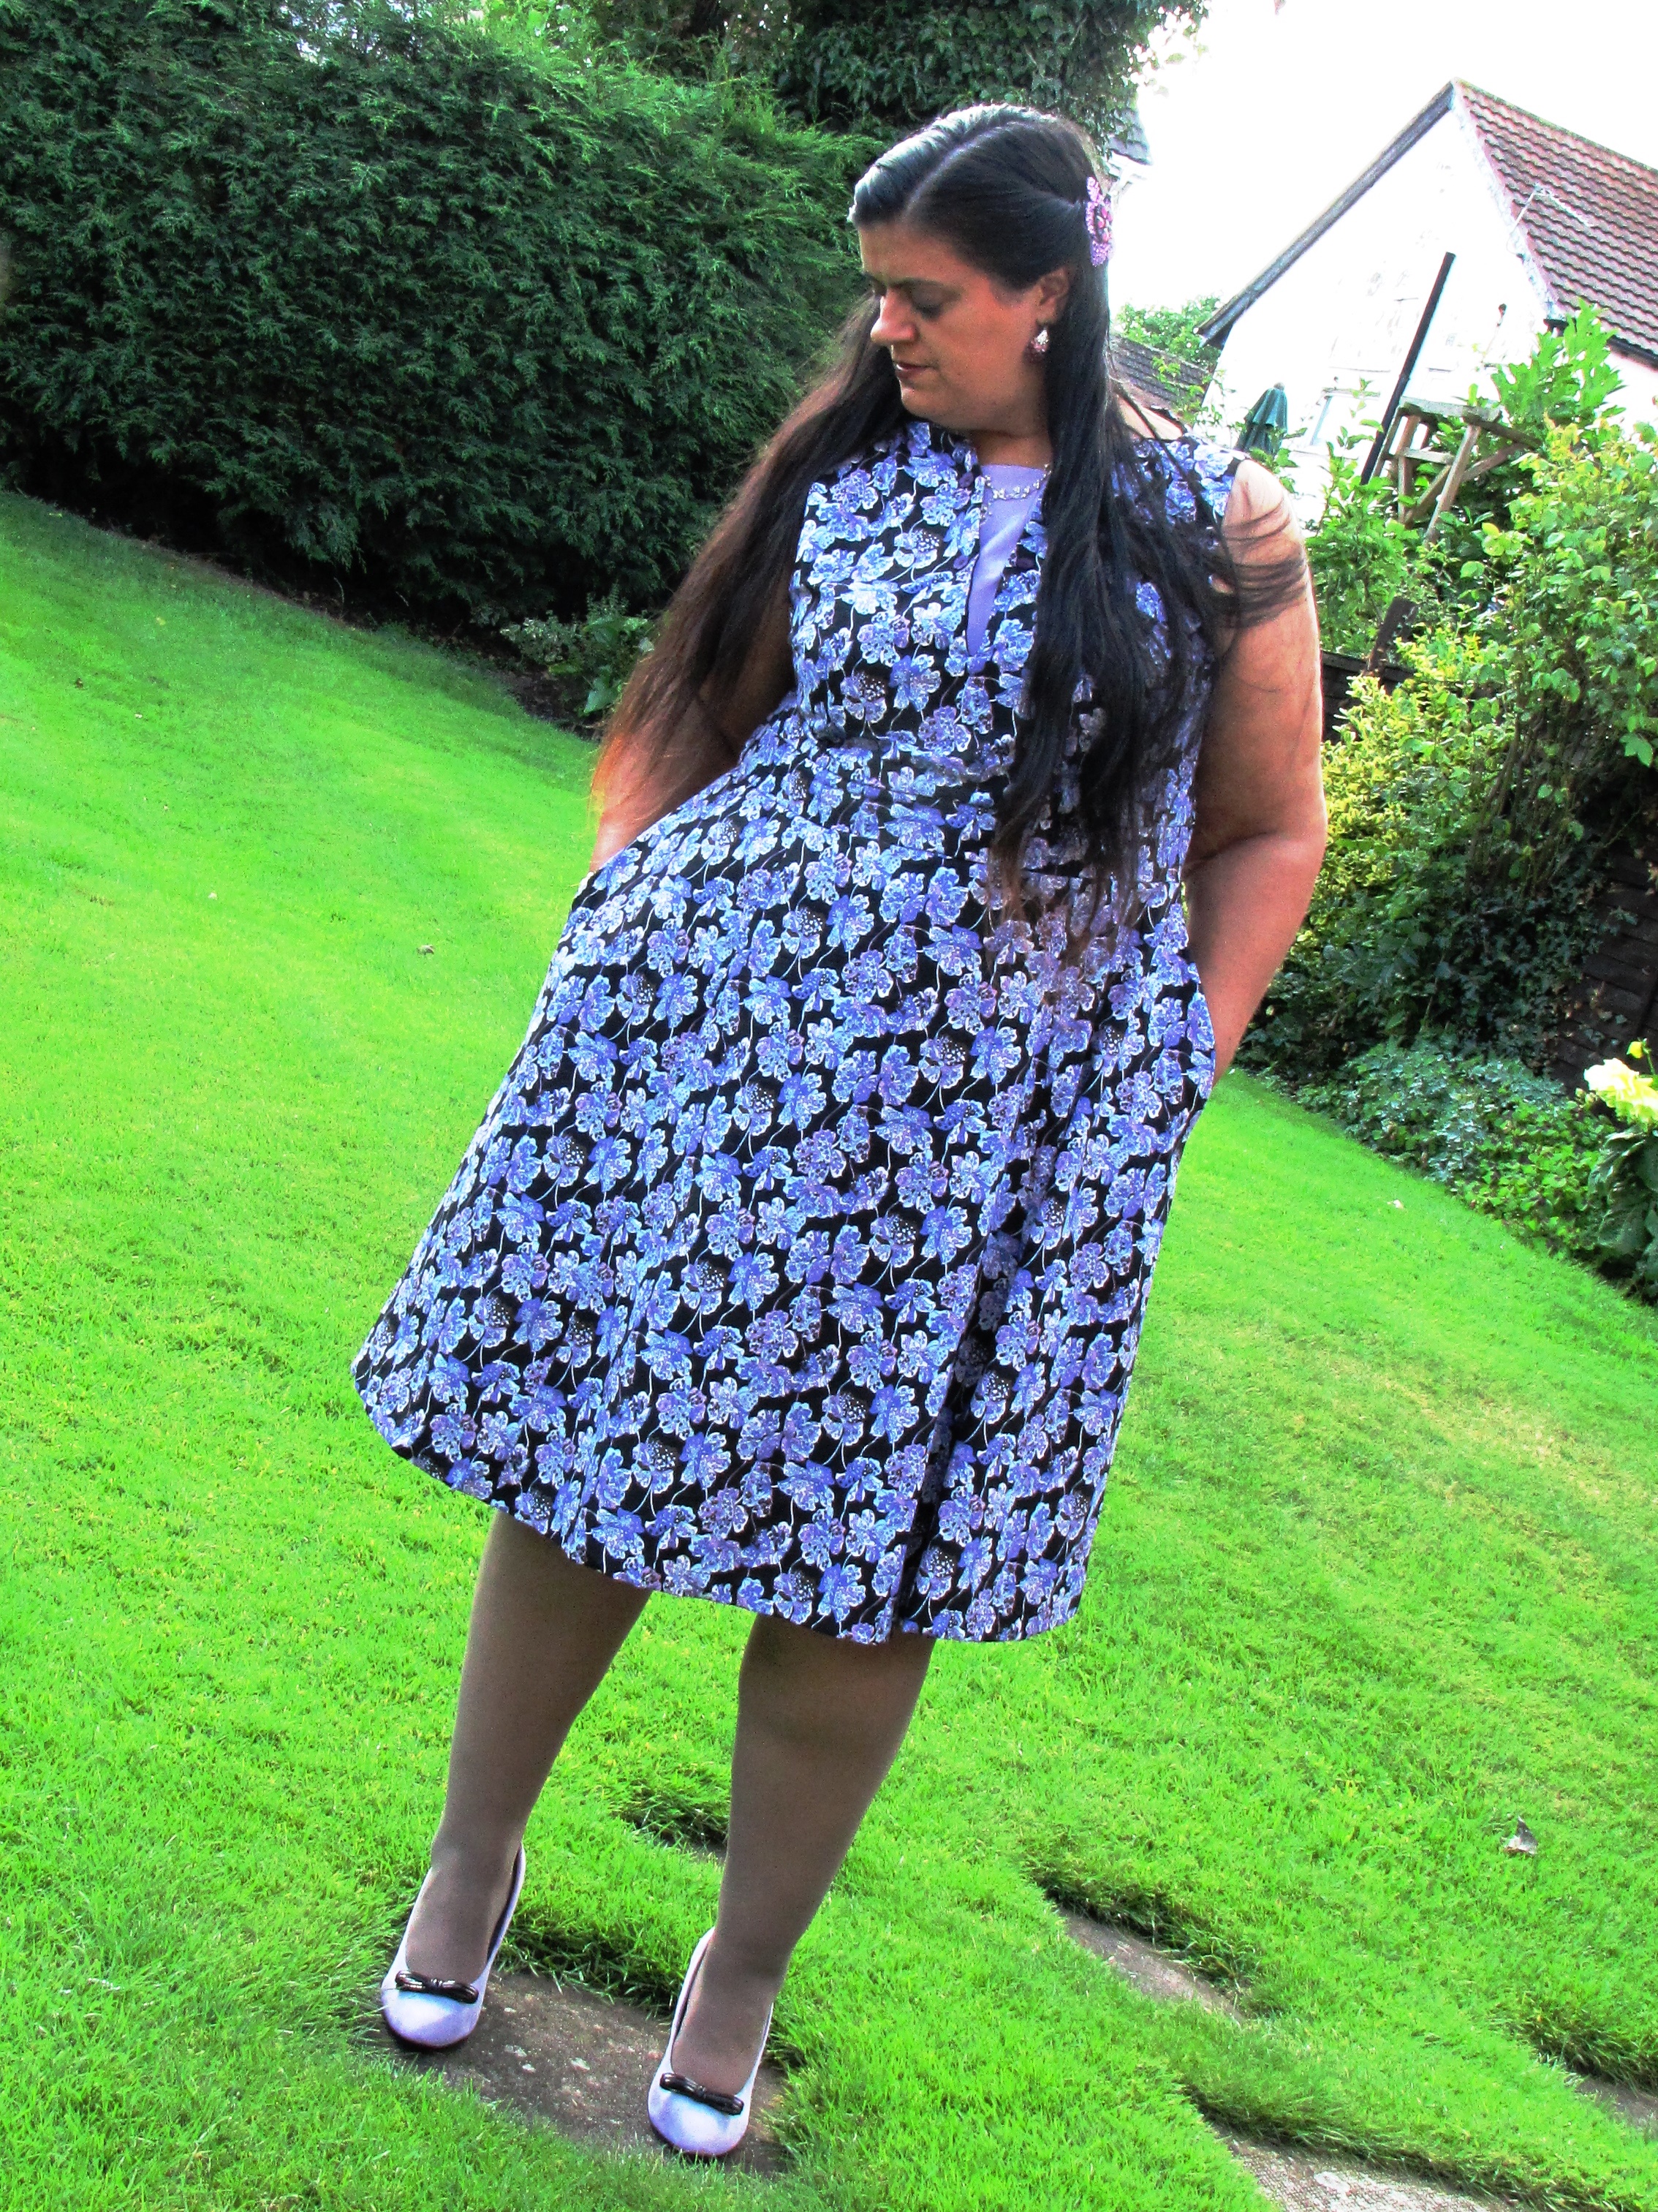
As 2014 seems to be the year of the weddings for me (6 in total!) and the timing was just rightfor the next wedding – Shannon & Peter Marsh on the 1st August I decided to make my Odette to wear on this special occasion. Those of you that know me know that I love purple (kinda obsessed) and I suppose the name of by blog The Purple Stitcher, probably gives that away! I went on the hunt for the perfect purple fabric. Generally I only do floral when they’re abstract and I was luck enough to find this beautiful almost pop art cotton in my local Abakhan Fabrics store in Birkenhead.
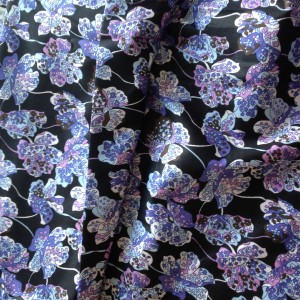
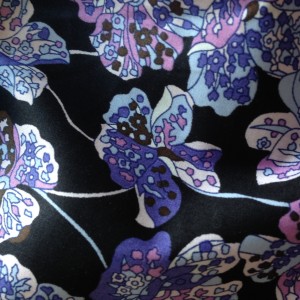
As I wanted to wear the dress at the height of the British ‘summer’ I decided to go with view A, the sleeveless version and to use a lightweight black cotton lawn for the lining and a lilac polycotton for the insert with cute flower shapped buttons, all purchased from my local Abakhan Fabrics store.

As always when using a new pattern I made a toile and is my usual style it was a charity shop duvet cover! This enabled me to get the fit just right. The fact that the bodice, waistband and skirt are all separate pieces was very useful as it enabled me to grade between these areas much easier. I’m very much pear-shaped, with my size going up by 1 from bust to waist to hips, so this is a very common pattern alteration for me. Now that Bluegingerdoll sizes come in plus-sizes this means there was no redrafting involved, which is a great time saver. I cut the bodice at size 20, the waist at a 22 and the hips at a 24 and with some help from the ladies at Liverpool Sewing Club I was able to check the fit and am very happy with the final results.

I’ve never actually sewn inseam pockets before on a dress, so was very excited to find these on the Odette and was very please at how quick and easily they went together. I also love having pockets on a dress how fun and practical is that! I also reckon they look fab and add another dimension to the dress:
It’s also been a very long time since I made a dress with an invisible zip, so used the fab tutorial on Bluegingerdoll blog to insert this and was once again pleased just how quick and easy this went in.
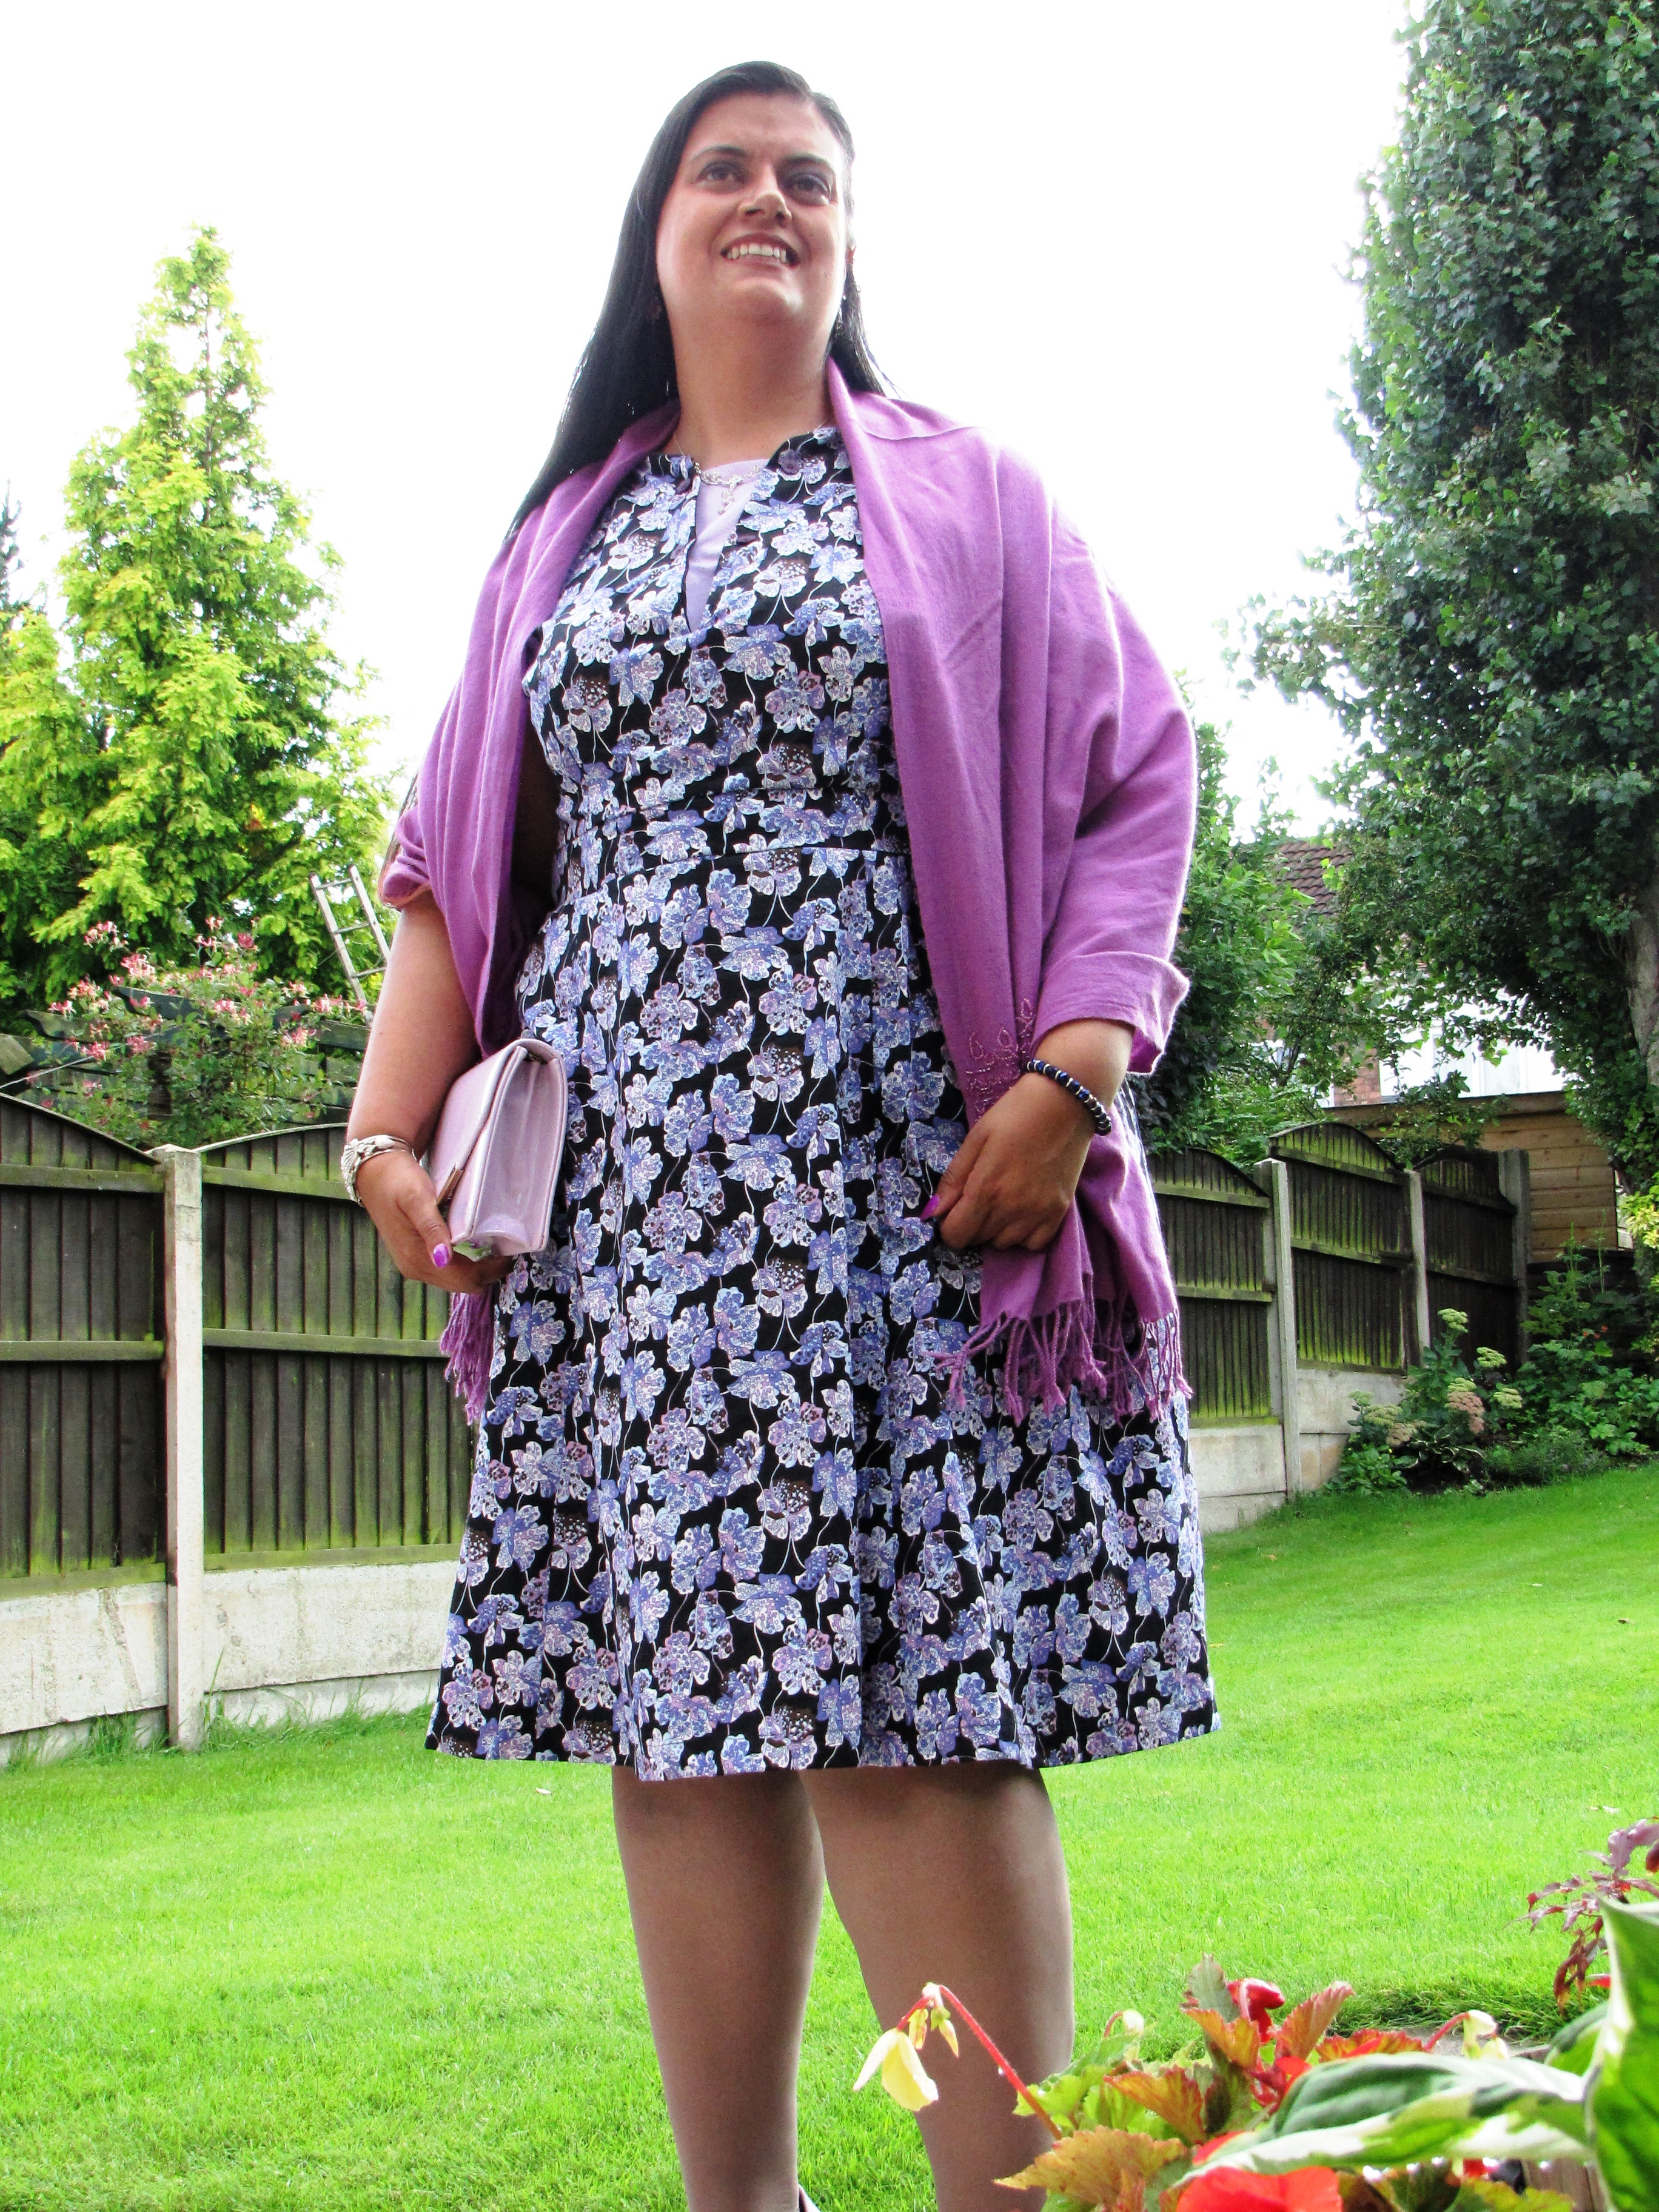
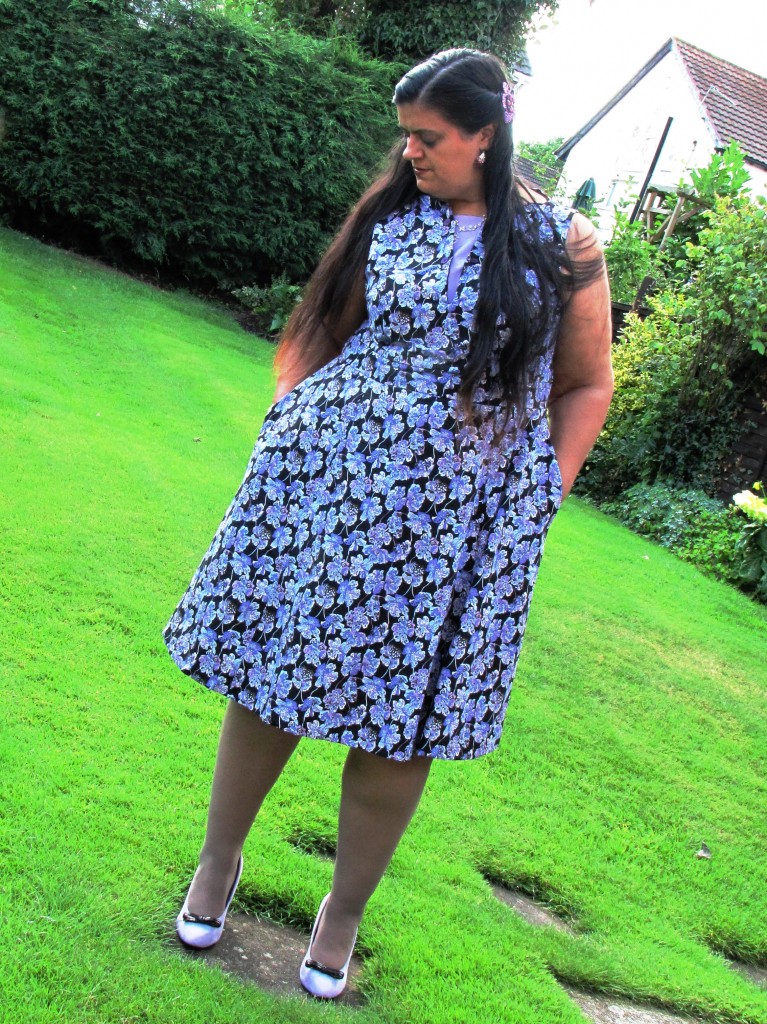
I’m very pleased with my Odette, the pattern is very flattering especially to pear-shapes like myself, and the extra little details like the interchangeable insert and in-seam pockets, add those extra special touches. I also love the fact that depending on your fabric choice it can be a more chilled day time summer dress, as seen in some of the other pattern testers blogs – Made by Meg, Handmade by Heather B, use pinstripes and make it workwear as seen by Kadiddlehopper or as with mine, add some glamorous heels, a beaded pashmina, fabulous jewellery and an evening clutch and suddenly it’s an elegant evening dress!

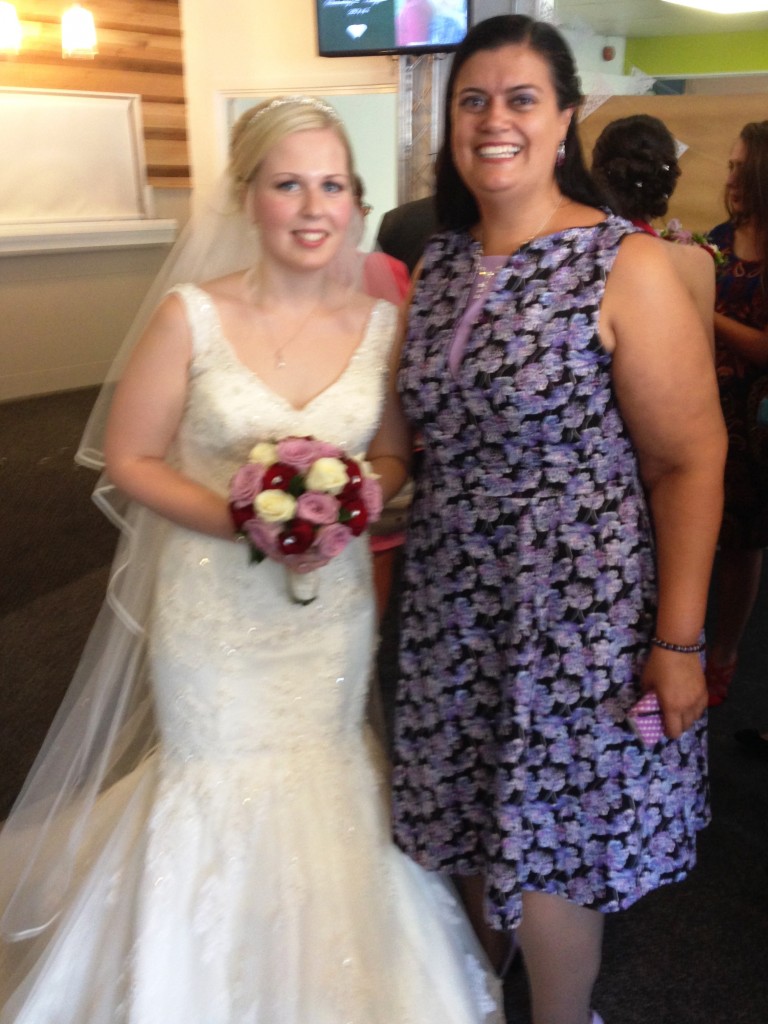
I loved wearing my dress to Shannon & Pete’s wedding, it was comfortable to wear all day long and managed to survive my enthusiastic dancing! Here I am with the beautiful bride at the wedding, doesn’t she look stunning!
To buy your own copy of the Odette dresssewing pattern please go here: http://bluegingerdoll.com/products/the-odette-dress
Bluegingerdoll have written a great sew-along for the Odette Dress with some great hints, tips and detailed photos for the steps involved:
NB: As part of the testing process, I received this pattern free of charge. All opinions and the decision to blog about it are however are fully my own.
2 Comments