The Refashioners 2017: Suits You
I’ve decided to join in Portia Lawrie’s Refashioners challenge – Suits You this year. The challenge is basically to refashion an old, unworn or unloved suit!
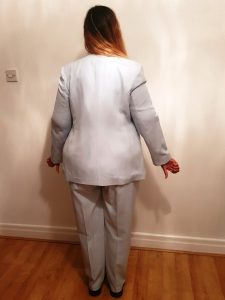
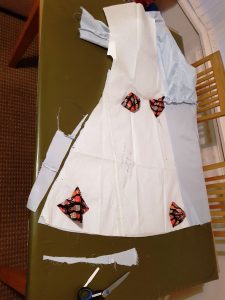
Most people entering the challenge have raided their local charity shop and bought a XXXL men’s suit to give them lots of fabric to work with. But no, old daft me decided that wasn’t enough of a challenge! I decided to use an old pale blue George at Asda ladies suit that I found in the loft, which I’m clearing out due to a rewire in the new year! I have no idea why I bought it as it’s soooo not my style, although it actually seems to fit me pretty well, which is where the extra challenge comes in as it doesn’t give me very much extra fabric to work with, doh!

I had a lot of fun playing round with the suit and trying to decide what to make with it but in the end I settled on a version of one of my TNT patterns – the BlueGingerDoll Winifred dress. I’ve altered the pattern quite a bit to fit me well, the shape suits me and I wear my existing ones quite a lot, so would be nice to have a new but also different version.
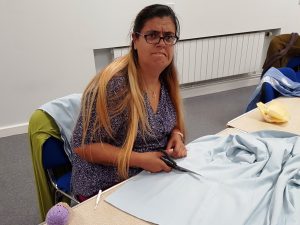
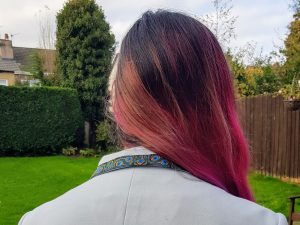
Although I have made the collarless version of the Winifred dress recently I do like the collar feature and decided to take advantage of the jacket collar and integrate this into the design. Lots of pinning and fiddling was undertaken at Liverpool Sewing Club, with me trying on again and again to ensure the button holes were not visible and the new centre front seam was straight and actually in the centre. Then to figure out the rest of the bodice fitting! As the jacket had princess seams it didn’t actually need the tuck darts that the dress usually features, which help create the bust fitting and flowing skirt. So when I figured out where to finish the bodice/jacket section and finally got the fit I liked, it was time to make the first cut!
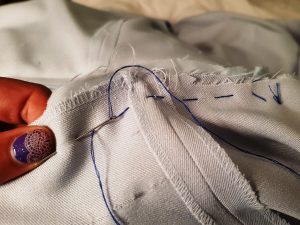
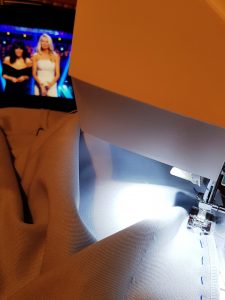
I decided to shorten the sleeves to elbow length, which i find really comfortable but I normally make short-sleeved Winifreds. As you can see from the before photos, the sleeves were a tiny bit tight, so I decided to remove the sleeve lining (I’ve left the bodice lined) to see if that helped with the fit. This is where I noticed the big difference in the seam finishes between the areas of the suit that would be visible (the trouser seams) and those not visible (sleeve seam). This is after all a budget suit and the manufactures need to save money and time where they can!
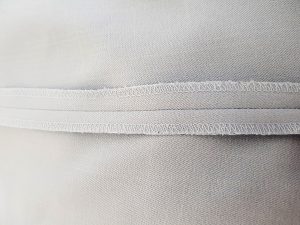
Visible seam
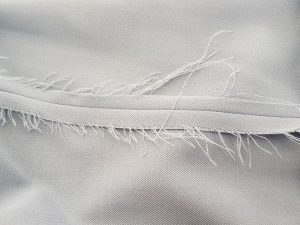
Hidden seam
At this point I decided to remove the shoulder pads as a) it’s no longer the 1980s, and b) they really don’t suit me. During this unpicking and deconstruction of the jacket stage it became obvious the difference between my Asda suit and the high end men’s tailored suit, that a lot of people, such as Portia were refashioning:

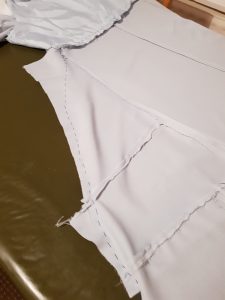
Now to move onto the skirt construction. The Winifred dress usually has an elastic casing or shirring at the back waistline but I wanted to test the fit first, so I decided to construct the skirt pieces separately first and check or fit before adding this detailing., The dress front is normally put as a full bodice and skirt all in one but my refashion needed a seam adding. I unpicked the side seam on the trousers and after a little maths and playing around with the layout decided to press out the hem and keep the inside seam in place and use this as the centre front centre back seams, as the skirt flares out and obviously so do the trousers at the hips. Although this flare isn’t enough to create the full width of the skirt, so now comes lots of patch working! I used the extra pieces from the bodice, trousers and sleeves to create extra width to get the rough shape of the Winfred dress. I then had tacked (yes me, the worst hand sewer known to mankind!) the two skirt pieces to the bodice and the rough shape of the skirt together.
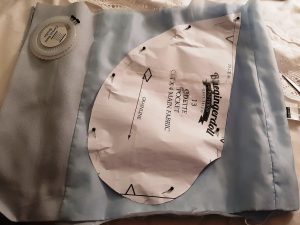
I needed to try the dress on and see if the shirring was needed or if the fit was okay without it and I was very pleased to find the shirring was not actually needed. A combination of the jacket bodice princess seams and the fact that I am extremely pear shaped meant I could lose the shirring and still have a great fit! Any good me-made dress has pockets, so time to go back to my leftovers from the suit and I used the lining from the bottom of the jacket to cut some side seam pocket, using the pattern piece from another BlueGingerDoll dress, the Odette, as a template). I’ve hacked this pattern before to add pockets but if you’re not sure how to do this then By Hand London have a great tutorial on their website, with lots of photos, which always help me as I’ve a very visual learner!
Now it’s time to put it all together properly! I used my pattern pieces as a rough guide and cut off the excess no longer needed, machine stitched all seams and remove the tacking (whilst watching Strictly of course)
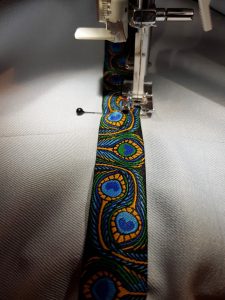
All finished, or is it?! Hmm, it’s very nice and I’m happy with the fit but it’s rather plain and therefore not really very me! My hand embroidery skills aren’t up to scratch, so I decided to have a look around for a co-ordinating trim. I really like peacocks feathers and found this one on Moksha Trim, so decided to stitch that to the waist but still wasn’t 100% happy, so had a play around at Liverpool Sewing Club with the ladies helping me work out the best placement and having a laugh in the meantime

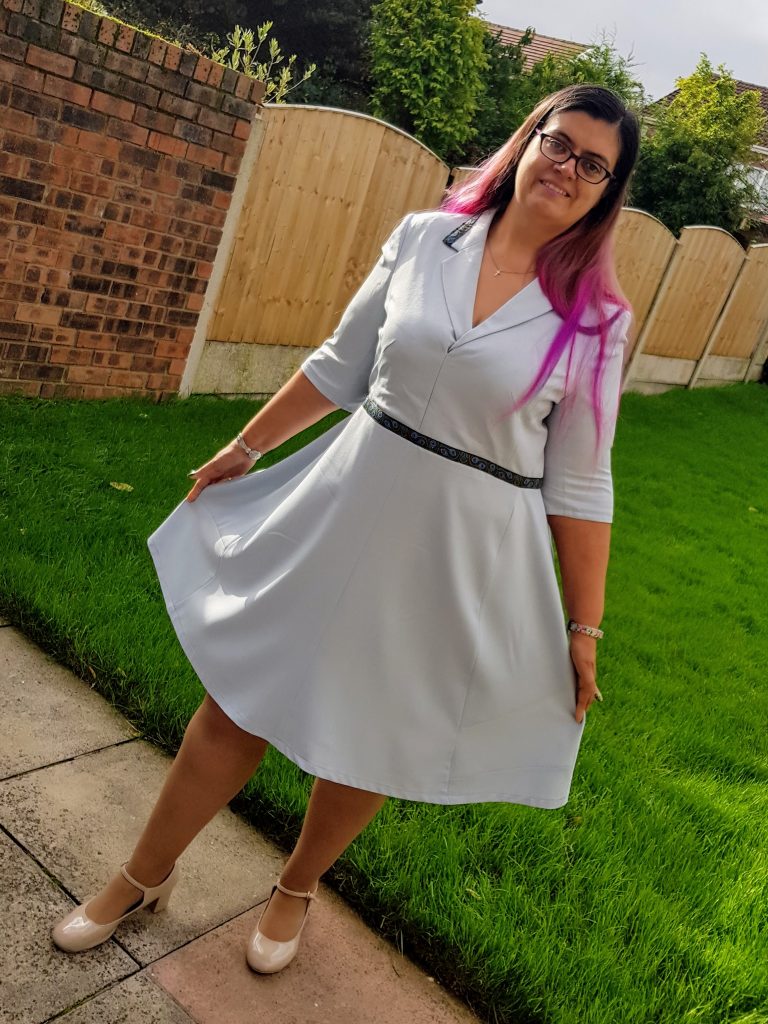
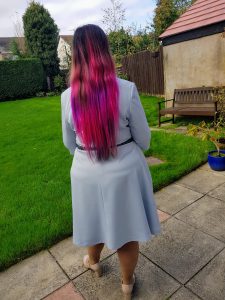
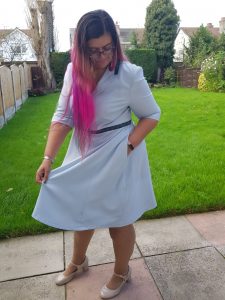
Yay, all finished! Cue lots and lots of photos:
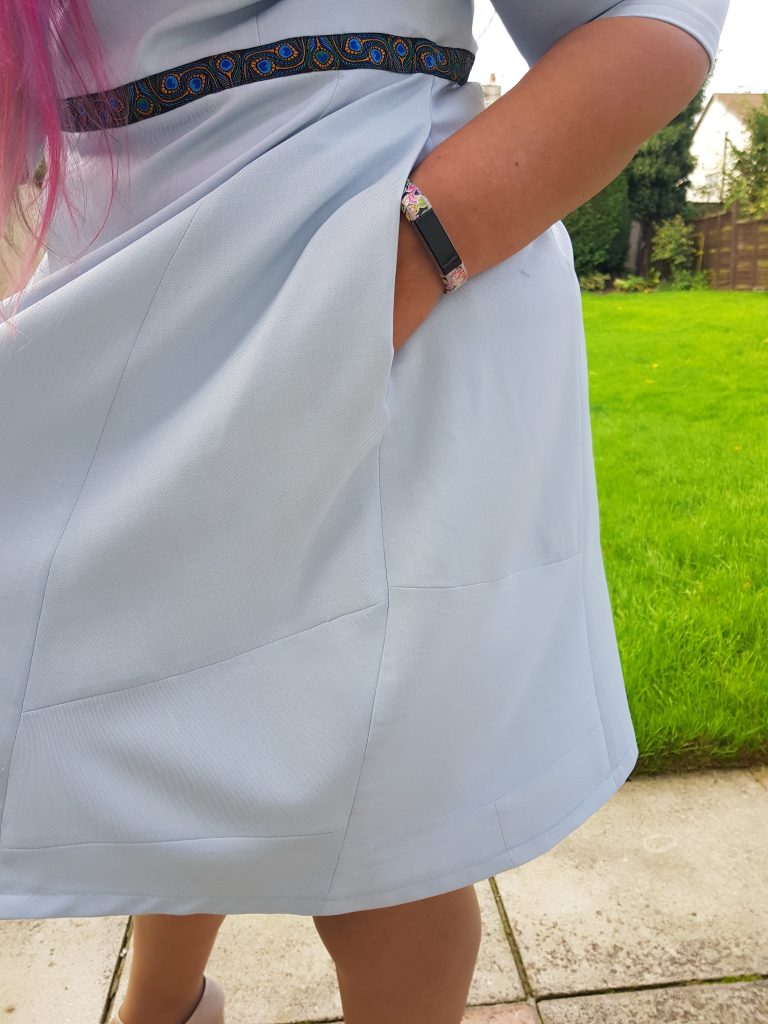
Patchwork side panels!


I’m really please how this has turned out and that I’ve managed to do it from not a lot of fabric and without adding any extra fabric, just 1.5 meters of trim!